React.js
React Router v4/v5 Nested Routes Guide
Learn how to implement nested routes in your React application using React Router v4 or v5 to create a hierarchical structure for your application's URLs and components.
Learn how to implement nested routes in your React application using React Router v4 or v5 to create a hierarchical structure for your application's URLs and components.

Nested routes are crucial for building complex and organized web applications in React. This guide will walk you through implementing nested routes using both React Router v5 and v6, highlighting the key differences and best practices. Whether you're new to React Router or transitioning from v5 to v6, this guide will provide a clear understanding of how to structure your application's navigation. We'll cover the setup process, defining nested routes, rendering components, and styling active links. Additionally, we'll touch upon important considerations like handling 404 errors, protecting routes, and fetching data for specific routes. By the end of this guide, you'll be equipped to create a seamless and intuitive navigation experience for your users.
While React Router v6 introduced some changes, the core concepts of nested routing remain similar. Here's a breakdown for both versions:
1. Setting Up React Router:
# For v5:
npm install react-router-dom@5

# For v6:
npm install react-router-dom@6// For v5:
import { BrowserRouter as Router } from 'react-router-dom';
ReactDOM.render(
<Router>
<App />
</Router>,
document.getElementById('root')
);
// For v6:
import { BrowserRouter } from 'react-router-dom';
ReactDOM.render(
<BrowserRouter>
<App />
</BrowserRouter>,
document.getElementById('root')
);2. Defining Nested Routes:
// Example: Dashboard with nested routes for profile and settings
function Dashboard() {
  return (
    <div>
      <h2>Dashboard</h2>
      {/* Nested routes will be rendered here */}
    </div>
  );
}

function Profile() {
  return <h3>Profile Page</h3>;
}

function Settings() {
  return <h3>Settings Page</h3>;
}Route components within the parent component to define nested paths:// For v5:
import { Switch, Route } from 'react-router-dom';
function App() {
return (
<Switch>
<Route path="/dashboard">
<Dashboard>
<Switch>
<Route path="/dashboard/profile" component={Profile} />
<Route path="/dashboard/settings" component={Settings} />
</Switch>
</Dashboard>
</Route>
{/* Other routes */}
</Switch>
);
}
// For v6:
import { Routes, Route } from 'react-router-dom';
function App() {
return (
<Routes>
<Route path="/dashboard" element={<Dashboard />}>
<Route path="profile" element={<Profile />} />
<Route path="settings" element={<Settings />} />
</Route>
{/* Other routes */}
</Routes>
);
}3. Rendering Nested Components:
Outlet component (v6 only) in the parent component to specify where nested components should render:// For v6:
function Dashboard() {
return (
<div>
<h2>Dashboard</h2>
<Outlet /> {/* Nested components render here */}
</div>
);
}4. Active Link Styling (Optional):
NavLink to apply styling to active links:import { NavLink } from 'react-router-dom';
function Navigation() {
return (
<nav>
<NavLink to="/dashboard/profile" activeClassName="active">Profile</NavLink>
<NavLink to="/dashboard/settings" activeClassName="active">Settings</NavLink>
</nav>
);
}Key Differences between v5 and v6:
Routes and Route components, eliminating the need for Switch.Outlet component for rendering nested components, while v5 relies on nesting Route components within the parent component.Additional Considerations:
By following these steps and understanding the differences between v5 and v6, you can effectively implement nested routes in your React applications, creating a more organized and user-friendly navigation experience.
This code demonstrates how to implement nested routes in React Router versions 5 and 6. Both versions use a main App component to define routes and a Dashboard component for nested routes. Version 6 introduces a cleaner structure with the Routes and Route components, and uses the Outlet component to render nested components. Key differences include component structure, rendering methods, and automatic handling of relative links in version 6. Remember to add navigation links, error handling, and data fetching for a complete application.
Following your provided guide, here's the JavaScript code demonstrating the implementation of nested routes in both React Router v5 and v6:
v5 Example:
// App.js
import React from 'react';
import { BrowserRouter as Router, Switch, Route } from 'react-router-dom';
import Dashboard from './Dashboard';
import Profile from './Profile';
import Settings from './Settings';

function App() {
  return (
    <Router>
      <Switch>
        <Route path="/dashboard">
          <Dashboard>
            <Switch>
              <Route path="/dashboard/profile" component={Profile} />
              <Route path="/dashboard/settings" component={Settings} />
            </Switch>
          </Dashboard>
        </Route>
        {/* Other routes */}
      </Switch>
    </Router>
  );
}

// Dashboard.js
function Dashboard() {
  return (
    <div>
      <h2>Dashboard</h2>
      {/* Nested routes render here */}
    </div>
  );
}

// Profile.js and Settings.js (similar structure)
function Profile() {
  return <h3>Profile Page</h3>;
}
v6 Example:
// App.js
import React from 'react';
import { BrowserRouter, Routes, Route } from 'react-router-dom';
import Dashboard from './Dashboard';
import Profile from './Profile';
import Settings from './Settings';

function App() {
  return (
    <BrowserRouter>
      <Routes>
        <Route path="/dashboard" element={<Dashboard />}>
          <Route path="profile" element={<Profile />} />
          <Route path="settings" element={<Settings />} />
        </Route>
        {/* Other routes */}
      </Routes>
    </BrowserRouter>
  );
}

// Dashboard.js
function Dashboard() {
  return (
    <div>
      <h2>Dashboard</h2>
      <Outlet /> {/* Nested components render here */}
    </div>
  );
}

// Profile.js and Settings.js (similar structure)
function Profile() {
  return <h3>Profile Page</h3>;
}
Explanation:
react-router-dom.BrowserRouter to enable routing.Switch (v5) or Routes (v6) components./dashboard route renders the Dashboard component.Dashboard, nested routes for /profile and /settings are defined.Outlet component to specify where the nested components should be rendered.Key Differences:
Routes and Route for a cleaner structure.Outlet for nested components, while v5 nests Route components.Remember:
NavLink for active link styling.Dynamic Routing:
/users/:userId) to capture values from the URL and pass them as props to your components. Access these parameters using the useParams hook in v6 or the props.match.params object in v5./products/:productId/reviews/:reviewId could display a specific review for a particular product.Code Splitting and Lazy Loading:
React.lazy to dynamically import components and Suspense to display a fallback UI while the component is loading.Transitions and Animations:
react-transition-group can help with this.Server-Side Rendering (SSR):
Testing:
@testing-library/react can be helpful for testing React Router applications.Additional Tips:
By incorporating these additional considerations and best practices, you can create robust, performant, and user-friendly nested routing structures in your React applications using React Router v5 or v6.
| Step | React Router v5 | React Router v6 |
|---|---|---|
| Installation | npm install react-router-dom@5 |
npm install react-router-dom@6 |
| App Wrapping | BrowserRouter as Router |
BrowserRouter |
| Nested Components | Define components for each route (e.g., Dashboard, Profile, Settings) |
Same as v5 |
| Route Definition | Use Switch and Route within parent component, nesting as needed |
Use Routes and Route, nesting with element prop for child routes |
| Rendering | Nested routes render within parent component | Use Outlet component in parent to specify where children render |
| Active Links |
NavLink with activeClassName
|
Same as v5 |
Key Differences:
Routes and Route, removing Switch.Outlet for clarity.In conclusion, mastering nested routes is essential for building well-structured React applications with intuitive navigation. This guide has equipped you with the knowledge to implement nested routes effectively using both React Router v5 and v6.
Key Takeaways:
Route components, and rendering nested components.Outlet component, and automatic handling of relative links.Next Steps:
By following these guidelines and continuously expanding your knowledge, you'll be able to create React applications with seamless navigation and an exceptional user experience.
 Nested routes with React Router v5 | In this post you'll learn how to create nested routes with React Router v5.
 javascript - Nested routes with react router v4 / v5 - Stack Overflow | Jan 4, 2017 ... react-router v4 & v5. It's true that in order to nest Routes you need to place them in the child component of the Route. However if you prefer a ...
 React Router - Nesting | Learn once, Route Anywhere javascript - React router V4 / V5 / V6 nested routing 404 net ... | Aug 26, 2020 ... 2 Answers 2 ... Another is to check if you have in the Webpack config the following: output: {publicPath: '/'},. Took me some time. ... took me just ...
 Upgrading from v5 v6.23.0 | React Router | // This is a React Router v5 app import { BrowserRouter, Switch, Route ... v4 and v5 Route 's rendering API became rather large. ... Nested routes build their path ...
 React Router v6: A Beginner's Guide — SitePoint | Learn how to navigate through a React application with multiple views with React Router, the de facto standard routing library for React.
 Nested routes with React Router v4 | by Tyler McGinnis | We've ... | React Router v4 introduced a new declarative, component based approach to routing. With that approach came some confusion around nested…
 Migrating to React Router v6: A complete guide - LogRocket Blog | Migrate your React Router applications from v5 to v6 with this in-depth guide, including a review of additions and improvements from v5.
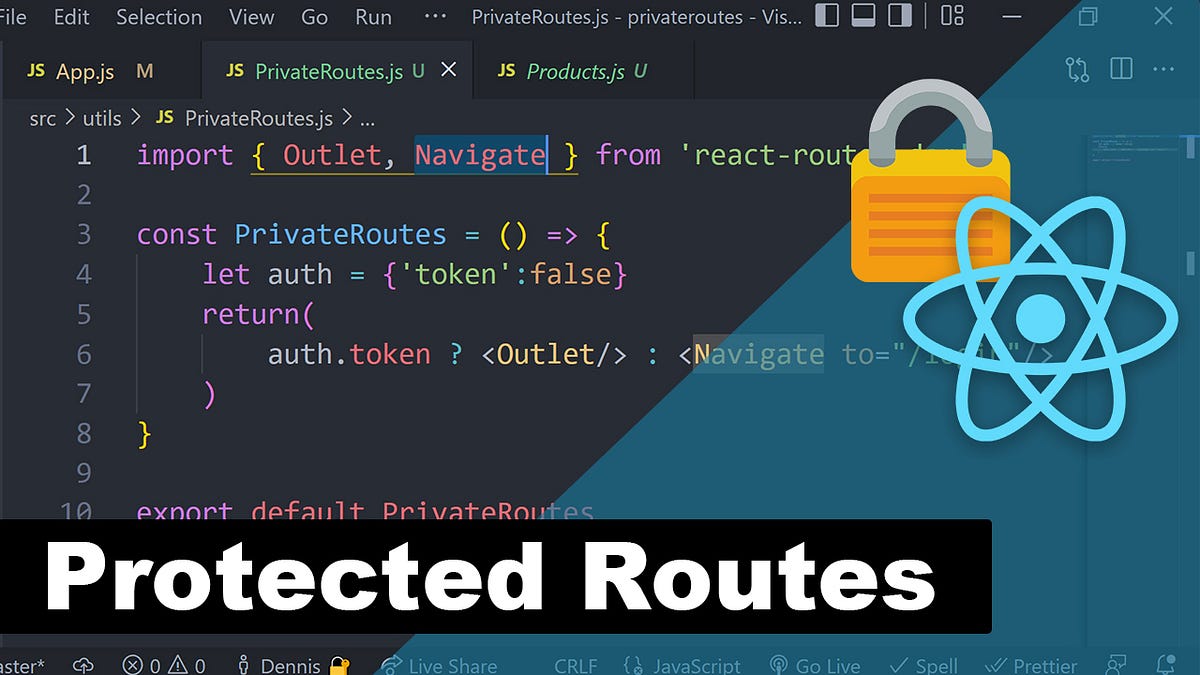 Creating Protected Routes With React Router V6 | by Dennis Ivy ... | Since React Router moved from version 5 to version 6 I’ve been meaning to update any articles and videos I have on this subject to show you…