React.js
React Radio Buttons Tutorial: Easy Step-by-Step Guide
Learn how to easily implement and manage radio buttons in your ReactJS applications for seamless user input and form handling.
Learn how to easily implement and manage radio buttons in your ReactJS applications for seamless user input and form handling.

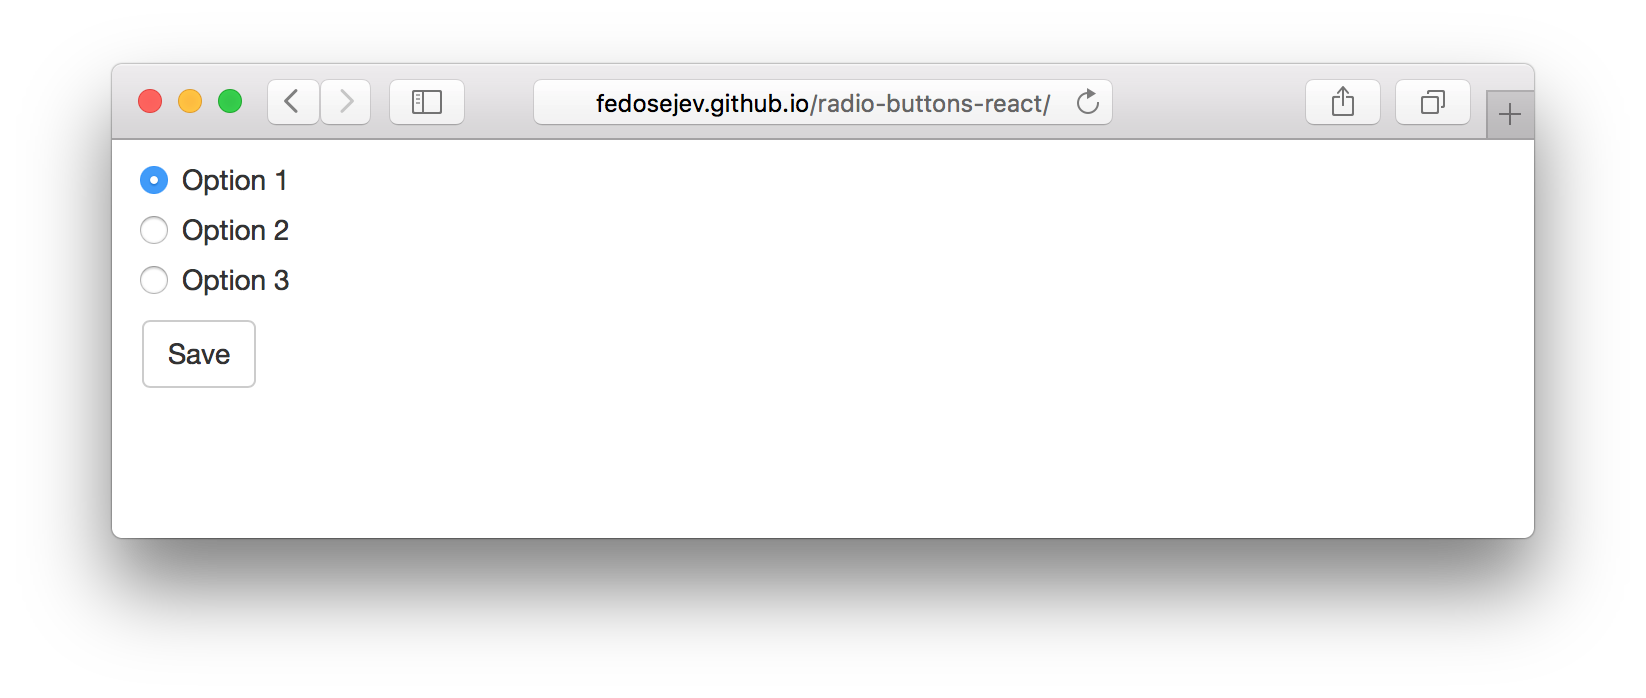
Radio buttons are essential for single-selection tasks in user interfaces. This guide demonstrates how to implement radio buttons effectively in your React applications using controlled components and state management. You'll learn how to create radio buttons, associate labels, manage their state, and access the selected value. This approach ensures a dynamic and user-friendly experience for selecting options in your React forms.
Radio buttons are a common UI element for letting users choose one option from a set. Here's how to use them effectively in your React applications:
1. Create a State Variable:
First, you need a state variable to store the selected radio button value. You can use the useState hook for this:
import React, { useState } from 'react';

function MyComponent() {
  const [selectedValue, setSelectedValue] = useState(''); // Initially no value is selected

  // ... rest of your component
}
2. Render the Radio Buttons:
Next, render your radio buttons within your component's JSX. Ensure each button has:
id attributes: This is crucial for accessibility and associating labels correctly.name attribute: This groups the radio buttons, ensuring only one can be selected at a time.value attribute: This represents the value associated with each radio button.onChange handler: This function will update the state when a radio button is selected.// ... inside your component
return (
<div>
<label htmlFor="option1">Option 1</label>
<input
type="radio"
id="option1"
name="myRadioGroup"
value="option1"
checked={selectedValue === 'option1'} // Check if this option is selected
onChange={(e) => setSelectedValue(e.target.value)}
/>
<label htmlFor="option2">Option 2</label>
<input
type="radio"
id="option2"
name="myRadioGroup"
value="option2"
checked={selectedValue === 'option2'}
onChange={(e) => setSelectedValue(e.target.value)}
/>
</div>
);Explanation:
htmlFor on labels to associate them with the corresponding radio buttons using their id.checked attribute is dynamically set based on the selectedValue state. If the radio button's value matches the current state, it will be checked.onChange handler updates the selectedValue state with the selected radio button's value using setSelectedValue(e.target.value).3. Accessing the Selected Value:
You can now access the selected radio button value through the selectedValue state variable anywhere within your component.
// ... inside your component

console.log("Selected value:", selectedValue);
Key Points:
map or similar methods.This comprehensive guide helps you implement radio buttons effectively in your React projects. Remember to adapt the code examples to your specific use case and styling preferences.
This JavaScript code defines a React component that renders a group of radio buttons for selecting a favorite fruit (Apple, Banana, or Orange). It uses the useState hook to keep track of the selected fruit and dynamically updates the checked status of each radio button. The selected fruit is displayed below the radio buttons.
import React, { useState } from 'react';

function RadioButtonsExample() {
  const [selectedValue, setSelectedValue] = useState('');

  const handleChange = (event) => {
    setSelectedValue(event.target.value);
  };

  return (
    <div>
      <h2>Select your favorite fruit:</h2>

      <div>
        <label htmlFor="apple">
          <input
            type="radio"
            id="apple"
            name="fruit"
            value="apple"
            checked={selectedValue === 'apple'}
            onChange={handleChange}
          />
          Apple
        </label>
      </div>

      <div>
        <label htmlFor="banana">
          <input
            type="radio"
            id="banana"
            name="fruit"
            value="banana"
            checked={selectedValue === 'banana'}
            onChange={handleChange}
          />
          Banana
        </label>
      </div>

      <div>
        <label htmlFor="orange">
          <input
            type="radio"
            id="orange"
            name="fruit"
            value="orange"
            checked={selectedValue === 'orange'}
            onChange={handleChange}
          />
          Orange
        </label>
      </div>

      <p>You selected: {selectedValue}</p>
    </div>
  );
}

export default RadioButtonsExample;
Explanation:
useState: We import the useState hook from React to manage the selected radio button value.selectedValue state as an empty string using useState('').handleChange Function: This function updates the selectedValue state with the value of the selected radio button whenever a radio button's state changes.name attribute ("fruit") to ensure only one can be selected at a time.id attribute, and its corresponding label uses the htmlFor attribute to associate with the correct input.checked Attribute: The checked attribute for each radio button is dynamically set based on whether its value matches the selectedValue state.selectedValue) below the radio buttons.This example demonstrates a simple and effective way to use radio buttons in React, allowing users to make a single selection from a list of options.
Accessibility:
<label> elements with htmlFor to associate them with radio buttons. This is essential for screen readers and assistive technologies.Styling:
Advanced Usage:
map. This is useful for situations where the options might change.Testing:
Remember:
| Feature | Description |
|---|---|
| Purpose | Allow users to select one option from a set. |
| State Management | Use the useState hook to store the selected value in a state variable. |
| Rendering | Render radio buttons with unique id, shared name, distinct value, and an onChange handler. |
| Label Association | Use htmlFor on labels to connect them to radio buttons using their id. |
| Checked State | Dynamically set the checked attribute based on the selected value in state. |
| onChange Handler | Update the state variable with the selected value using setSelectedValue(e.target.value). |
| Accessing Selected Value | Access the selected value directly from the state variable. |
| Controlled Components | Radio buttons become controlled components, with state managed by React. |
| Dynamic Rendering | Easily render radio buttons from arrays using methods like map. |
| Form Libraries | Consider using libraries like Formik or React Hook Form for complex forms. |
By mastering the concepts and techniques outlined in this guide, you'll be well-equipped to create robust and user-friendly forms in your React applications. Remember that clear user interface elements, consistent styling, and thorough testing are essential for a positive user experience.
 Radio Buttons In React.js - React Tips | By explicitly specifying which radio button is selected, we're also implicitly specifying which should be unselected. When you create radio buttons using HTML, ...
 How to Use Radio Buttons in ReactJS | Nov 12, 2020 ... In this guide, you'll learn the basics of the radio button, how to use it in a group, and how to access the selected radio button value on change event.
 How to work with radio buttons in React - DEV Community | Unlike checkboxes, radio buttons always come in groups. Let it be selecting your gender or choosing...
 How to Implement Radio Button In React ? - GeeksforGeeks | A Computer Science portal for geeks. It contains well written, well thought and well explained computer science and programming articles, quizzes and practice/competitive programming/company interview Questions.
 How to use radio buttons in React JS | Contributor: Muhammad Huzaifa Khan
 React Radio Buttons - Scaler Topics | With this article by Scaler Topics Learn about React Radio Buttons with examples, explanations, and applications, read to know more
 Radio Buttons & setState in React | by Jodi Croft | Medium | Radio buttons, onChange events, setting state & asynchronicity in React