Kubernetes
Kubernetes Namespace Switching: A Quick Guide
Learn how to easily switch between namespaces in Kubernetes and streamline your workflow for managing resources in different environments.
Learn how to easily switch between namespaces in Kubernetes and streamline your workflow for managing resources in different environments.

Kubernetes namespaces provide a way to partition a single cluster into multiple virtual clusters. This isolation is useful for separating resources used by different projects, teams, or environments. Namespaces help avoid naming collisions and enhance security by limiting resource access.
Kubernetes namespaces let you divide a single cluster into separate spaces for projects or teams. This keeps resources organized and prevents naming conflicts.
To see existing namespaces, use:
kubectl get namespaces To see resources in a specific namespace, add -n <namespace> to commands:
kubectl get pods -n my-namespaceTo run a single command in a different namespace:
kubectl create deployment nginx-deployment --image=nginx -n my-namespaceTo switch your default namespace temporarily:
kubectl config set-context --current --namespace=my-namespaceFor frequent switching, tools like kubens or kubectx can simplify the process.
This code provides examples of how to manage namespaces in Kubernetes. It shows how to list, create, and delete namespaces, as well as how to interact with resources within specific namespaces. It also covers switching between namespaces using kubectl commands and the kubens and kubectx tools.
This code example demonstrates how to work with namespaces in Kubernetes.
1. List existing namespaces:
kubectl get namespaces2. Create a new namespace:
kubectl create namespace my-new-namespace3. List resources in a specific namespace:
kubectl get pods -n my-new-namespace4. Deploy an Nginx deployment in a specific namespace:
kubectl create deployment nginx-deployment --image=nginx -n my-new-namespace5. Expose the Nginx deployment as a service in the same namespace:
kubectl expose deployment nginx-deployment --port=80 --target-port=80 --type=LoadBalancer -n my-new-namespace6. Switch your default namespace temporarily:
kubectl config set-context --current --namespace=my-new-namespace7. Verify the current namespace:
kubectl config view --minify | grep namespace8. Switch back to the default namespace:
kubectl config set-context --current --namespace=default9. Delete the namespace and all its resources:
kubectl delete namespace my-new-namespaceUsing kubens and kubectx:
1. Install kubens and kubectx:
# Install with Homebrew (macOS)
brew install kubectx

# Install with apt (Debian/Ubuntu)
sudo apt update
sudo apt install -y kubectx
2. Switch namespaces with kubens:
kubens my-new-namespace3. Switch contexts and namespaces with kubectx:
kubectx my-context/my-new-namespaceThis code example provides a basic understanding of how to create, use, and manage namespaces in Kubernetes. Remember to adapt the commands and resource names to your specific needs.
Resource Limits: Namespaces can enforce resource quotas, limiting how much CPU, memory, etc., applications within them can consume. This prevents one team/project from monopolizing cluster resources.
Default Namespace: A cluster always has a "default" namespace. Resources created without specifying a namespace land here. Be mindful of this, especially in shared clusters.
Namespace Isolation: While namespaces provide logical separation, they don't offer complete isolation like separate clusters. For example, a misconfigured application in one namespace could potentially impact others, though this is less likely with proper security measures.
Network Policies: For finer-grained control over network traffic within a cluster, use NetworkPolicies. These allow/deny communication between pods based on namespace, labels, and more.
Namespace Best Practices:
Beyond kubens and kubectx: Many Kubernetes dashboards and IDE plugins provide easier ways to switch between namespaces visually. Explore these for improved workflow.
| Feature | Description | Command Example |
|---|---|---|
| Purpose | Divide a cluster into logical units for projects or teams. | |
| Benefits | * Organize resources * Prevent naming conflicts |
|
| View Namespaces | List all namespaces in the cluster. | kubectl get namespaces |
| View Resources in Namespace | List resources within a specific namespace. | kubectl get pods -n my-namespace |
| Execute Command in Namespace | Run a command targeting a specific namespace. | kubectl create deployment nginx-deployment --image=nginx -n my-namespace |
| Temporarily Switch Default Namespace | Change the default namespace for subsequent commands. | kubectl config set-context --current --namespace=my-namespace |
| Simplified Switching | Use tools for easier namespace switching. |
kubens or kubectx
|
In conclusion, Kubernetes namespaces are an essential tool for organizing and managing resources within a cluster. They provide logical separation for projects, teams, or environments, preventing naming conflicts and enhancing security through resource isolation. By understanding how to create, manage, and switch between namespaces, you can effectively leverage this feature to streamline your Kubernetes workflows and improve the overall structure and security of your deployments. Remember to utilize clear naming conventions, implement resource quotas, and explore tools like kubens and kubectx for simplified namespace management. By incorporating namespaces into your Kubernetes strategy, you can create a more organized, efficient, and secure cluster environment for your applications.
 How to Switch Namespaces in Kubernetes | Baeldung on Ops | Learn various methods such as using the kubectl command with the --namespace flag, modifying the Kubernetes configuration file, and updating the context with the kubectl config set-context command.
 Kubernetes Namespaces: Everything you need to know | K21Academy | Kubernetes namespaces are a mechanism for isolating groups of resources within a single cluster. Kubernetes namespaces have numerous applications.
 Namespaces | Kubernetes | In Kubernetes, namespaces provide a mechanism for isolating groups of resources within a single cluster. Names of resources need to be unique within a namespace, but not across namespaces. Namespace-based scoping is applicable only for namespaced objects (e.g. Deployments, Services, etc.) and not for cluster-wide objects (e.g. StorageClass, Nodes, PersistentVolumes, etc.).
When to Use Multiple Namespaces Namespaces are intended for use in environments with many users spread across multiple teams, or projects.
Namespaces | Kubernetes | In Kubernetes, namespaces provide a mechanism for isolating groups of resources within a single cluster. Names of resources need to be unique within a namespace, but not across namespaces. Namespace-based scoping is applicable only for namespaced objects (e.g. Deployments, Services, etc.) and not for cluster-wide objects (e.g. StorageClass, Nodes, PersistentVolumes, etc.).
When to Use Multiple Namespaces Namespaces are intended for use in environments with many users spread across multiple teams, or projects. Haskell Showroom: How to switch between multiple ... - Deni Bertovic | Jan 14, 2019 ... Haskell Showroom: How to switch between multiple kubernetes clusters and namespaces. A while ago I decided that I was done writing anything ...
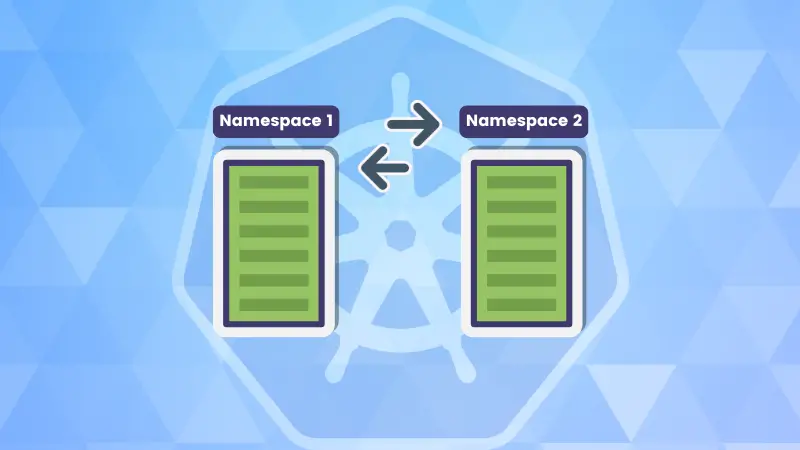 How to Change or Switch Namespaces in Kubernetes | Learn how to switch namespaces in Kubernetes to run kubectl commands in the desired namespace.
 How to Change Namespace in Kubernetes ? - GeeksforGeeks | A Computer Science portal for geeks. It contains well written, well thought and well explained computer science and programming articles, quizzes and practice/competitive programming/company interview Questions.
 How to switch between namespaces in Kubernetes - Digital Thought ... | This article shows how to switch between the default namepace in kubernetes and custom created namespaces that you've created