Machine Vision
Image Logo Recognition: Identify Brands in Pictures
Learn how logo recognition in images uses AI to identify brand logos, providing valuable insights for market research, brand monitoring, and content analysis.
Learn how logo recognition in images uses AI to identify brand logos, providing valuable insights for market research, brand monitoring, and content analysis.

Building a logo detection system involves several steps, from data preparation to model deployment. This process leverages the power of deep learning, specifically Convolutional Neural Networks (CNNs), to accurately identify and classify logos within images.
Gather a dataset of logos: You'll need a collection of images with logos, ideally annotated with bounding boxes to indicate the logo's location.
import cv2
# Load image and bounding box coordinates
image = cv2.imread('logo_image.jpg')
x, y, w, h = 100, 50, 200, 150  # Example coordinates

# Extract logo region
logo_roi = image[y:y+h, x:x+w]
Preprocess the images: Resize, normalize, and apply data augmentation techniques to improve model generalization.
import tensorflow as tf
image = tf.image.resize(image, (224, 224))
image = image / 255.0  # Normalize pixel values
Choose a model architecture: Convolutional Neural Networks (CNNs) are well-suited for image recognition tasks. You can use pre-trained models like ResNet, Inception, or train your own.
base_model = tf.keras.applications.ResNet50(weights='imagenet', include_top=False)Train the model: Feed the preprocessed logo images to the model and train it to classify logos.
model.compile(optimizer='adam', loss='categorical_crossentropy', metrics=['accuracy'])
model.fit(train_images, train_labels, epochs=10)
Evaluate the model: Test the trained model on a separate dataset to assess its performance.
loss, accuracy = model.evaluate(test_images, test_labels)
print('Test accuracy:', accuracy)
Deploy and use the model: Integrate the trained model into your application or use cloud-based APIs for logo detection and recognition.
# Example using Google Cloud Vision API
from google.cloud import vision

client = vision.ImageAnnotatorClient()
response = client.logo_detection(image=image)
logos = response.logo_annotationsThis Python code implements a logo recognition system using a deep learning model. It loads and preprocesses image data, builds a convolutional neural network (CNN) based on ResNet50, trains the model, evaluates its performance, and saves the trained model. The code also includes an example of how to load the saved model and use it to predict the logo in a new image.
import os
import tensorflow as tf
from tensorflow.keras.preprocessing.image import ImageDataGenerator
from tensorflow.keras.applications.resnet50 import ResNet50
from tensorflow.keras.layers import GlobalAveragePooling2D, Dense
from tensorflow.keras.models import Model

# --- Step 1 & 2: Data Loading and Preprocessing ---
# Assuming your dataset is structured as:
#   data/
#     train/
#       logo1/
#       logo2/
#       ...
#     validation/
#       logo1/
#       logo2/
#       ...

train_data_dir = 'data/train'
validation_data_dir = 'data/validation'
img_width, img_height = 224, 224
batch_size = 32

# Data augmentation for training data
train_datagen = ImageDataGenerator(
    rescale=1./255,
    shear_range=0.2,
    zoom_range=0.2,
    horizontal_flip=True
)

# Only rescaling for validation data
validation_datagen = ImageDataGenerator(rescale=1./255)

# Data generators
train_generator = train_datagen.flow_from_directory(
    train_data_dir,
    target_size=(img_width, img_height),
    batch_size=batch_size,
    class_mode='categorical'
)

validation_generator = validation_datagen.flow_from_directory(
    validation_data_dir,
    target_size=(img_width, img_height),
    batch_size=batch_size,
    class_mode='categorical'
)

num_classes = len(train_generator.class_indices)

# --- Step 3: Model Building ---
base_model = ResNet50(weights='imagenet', include_top=False)
x = base_model.output
x = GlobalAveragePooling2D()(x)
x = Dense(1024, activation='relu')(x)
predictions = Dense(num_classes, activation='softmax')(x)

model = Model(inputs=base_model.input, outputs=predictions)

# --- Step 4: Model Training ---
model.compile(optimizer='adam', loss='categorical_crossentropy', metrics=['accuracy'])

model.fit(
    train_generator,
    steps_per_epoch=train_generator.samples // batch_size,
    epochs=10,  # Adjust as needed
    validation_data=validation_generator,
    validation_steps=validation_generator.samples // batch_size
)

# --- Step 5: Model Evaluation ---
loss, accuracy = model.evaluate(validation_generator, steps=validation_generator.samples // batch_size)
print('Test Loss:', loss)
print('Test Accuracy:', accuracy)

# --- Step 6: Model Saving and Deployment (Example) ---
model.save('logo_recognition_model.h5')

# --- Example Prediction ---
# Load and preprocess a single image for prediction
from tensorflow.keras.preprocessing import image

img_path = 'test_logo.jpg'
img = image.load_img(img_path, target_size=(img_width, img_height))
img = image.img_to_array(img)
img = img / 255.0
img = np.expand_dims(img, axis=0)

prediction = model.predict(img)
predicted_class = np.argmax(prediction)

# Map predicted class index to class label
class_labels = {v: k for k, v in train_generator.class_indices.items()}
predicted_label = class_labels[predicted_class]

print('Predicted Logo:', predicted_label)
Explanation:
Data Loading and Preprocessing:
ImageDataGenerator is used for data augmentation (like random flips, zooms, etc.) during training to improve model generalization.224x224 and normalized to the range [0, 1].Model Building:
GlobalAveragePooling2D converts feature maps to a single vector.Dense) are added for classification, with the final layer having num_classes outputs (one for each logo class).Model Training:
model.fit trains the model on the training data and validates it on the validation data.Model Evaluation:
model.evaluate calculates the loss and accuracy on the validation set to assess the model's performance.Model Saving and Deployment:
model.save saves the trained model to a file (logo_recognition_model.h5).Key Points:
1. Gather a dataset of logos:
BeautifulSoup or Scrapy to download images from websites.2. Preprocess the images:
3. Choose a model architecture:
4. Train the model:
5. Evaluate the model:
6. Deploy and use the model:
Additional Considerations:
This document outlines the steps to build a logo detection system using deep learning:
1. Data Collection and Preparation:
2. Image Preprocessing:
3. Model Selection and Initialization:
4. Model Training:
5. Model Evaluation:
6. Deployment and Usage:
This summary provides a high-level overview of the logo detection system building process. The provided code snippets illustrate key steps using libraries like OpenCV, TensorFlow, and Google Cloud Vision API.
By following these steps, you can effectively build a robust and accurate logo detection system. Remember that the quality of your dataset and the choice of model architecture significantly impact the system's performance. Consider the deployment environment and optimize accordingly for optimal results in real-world applications.
 How to build a Logo Detection + Recognition system (at scale) | by ... | Hi folks,
I’m Nathan and in this blog I’ll walk you down the steps I took to create a production level logo detection + recognition model…
How to build a Logo Detection + Recognition system (at scale) | by ... | Hi folks,
I’m Nathan and in this blog I’ll walk you down the steps I took to create a production level logo detection + recognition model… Brand Logo Identification Online | The brand logo recognition system supports all types of brands. Just upload a picture of the brand and the system will identify the name of the brand in ...
 Scalable logo recognition in real-world images | Proceedings of the ... | Abstract. In this paper we propose a highly effective and scalable framework for recognizing logos in images. At the core of our approach lays a method for ...
 Logo Recognition | Papers With Code | In this paper, we introduce "LOGO-Net", a large-scale logo image database for logo detection and brand recognition from real-world product images. Paper · Add ...
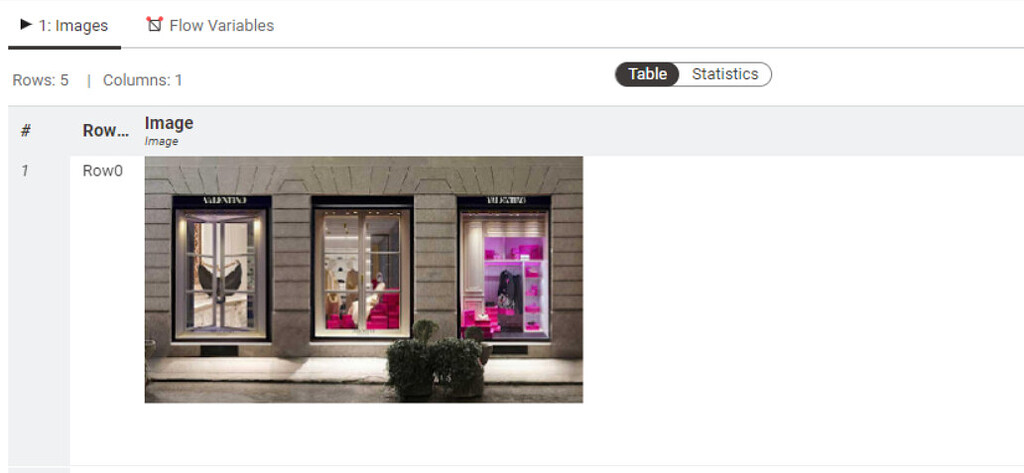 Improving Image Classification Model for Brand Recognition - Deep ... | Hello everyone, I hope you’re all doing well. I’m posting this message to seek assistance in improving my image classification model. I’ve adapted the workflow for classifying dogs and cats to my specific use case. I’d like to use images of storefronts or advertisements to recognize certain brands. This involves deciphering logos or brand names on storefronts and signs. Unfortunately, the expected results are not satisfactory. I’ve tried changing several parameters, such as the image size. I...
 Category-consistent deep network learning for accurate vehicle logo ... | Vehicle logo recognition (VLR) is essential in intelligent transportation systems. Although many VLR algorithms have been proposed, efficient and accu…