Machine Vision
Getting Started with Augmented Reality
Discover the easiest ways to dive into the world of augmented reality, from understanding the basics to exploring simple AR apps and tools.
Discover the easiest ways to dive into the world of augmented reality, from understanding the basics to exploring simple AR apps and tools.

Augmented reality (AR) is rapidly changing how we interact with the digital world, blurring the lines between the real and the virtual. This technology has the potential to revolutionize various fields, from gaming and entertainment to education and healthcare. If you're interested in diving into the world of AR development, this guide will provide you with a starting point. We'll cover the fundamental concepts, popular platforms, key technologies, and resources to help you embark on your AR journey.
// Code detects a pre-defined image (marker) to trigger AR content
// Uses phone sensors to place objects in the real world (SLAM)
// Display an image on top of a detected marker
// Let users place a virtual object in their room using their phone camera
This code demonstrates a simple augmented reality (AR) experience using AR.js and A-Frame libraries. It sets up a web page where an image (overlay_image.png) is displayed on top of a pre-defined marker ("hiro" pattern) when viewed through a camera-enabled device. The user needs to open the HTML file (index.html) in a compatible browser and point their device's camera towards the marker image to trigger the AR effect.
This example demonstrates marker-based AR using AR.js, a JavaScript library for WebAR. We'll display an image on top of a detected marker.
1. HTML (index.html):
<!DOCTYPE html>
<html>
<head>
  <meta charset="utf-8">
  <title>Simple AR Image Tracking</title>
  <script src="https://aframe.io/releases/1.0.4/aframe.min.js"></script>
  <script src="https://raw.githack.com/jeromeetienne/AR.js/master/aframe/build/aframe-ar.min.js"></script>
</head>
<body style='margin : 0px; overflow: hidden;'>
  <a-scene embedded arjs>
    <a-marker preset="hiro">
      <a-image src="overlay_image.png" position="0 0.5 0" scale="0.5 0.5 0.5"></a-image>
    </a-marker>
    <a-entity camera></a-entity>
  </a-scene>
</body>
</html>
2. Image (overlay_image.png):
Place any image you want to display in the same directory as your HTML file and name it "overlay_image.png".
Explanation:
<a-scene>.arjs component initializes AR.js.<a-marker preset="hiro"> defines a marker using the built-in "hiro" pattern. You can replace this with your own marker image and configure AR.js accordingly.<a-image> defines the image to be displayed when the marker is detected. We position and scale it relative to the marker.<a-entity camera> sets up the camera for our scene.To run this example:
This is a very basic example. You can explore AR.js documentation and A-Frame documentation to create more complex and interactive AR experiences. You can also explore ARKit and ARCore for native mobile app development with more advanced features.
General AR Concepts:
Choosing the Right Tools:
Learning Resources:
Beyond the Basics:
This article provides a roadmap for beginners interested in AR development:
1. What is AR?
AR enhances the real world by overlaying digital content, like displaying information about a coffee cup when viewed through your phone.
2. Choosing Your Platform:
3. Key Concepts:
4. Beginner Projects:
5. Tools and Frameworks:
6. Learning by Doing:
Start with tutorials, then experiment and modify them to build your own unique AR experiences.
As AR technology continues to advance, its impact on our lives will only grow more significant. By understanding the fundamental concepts, exploring available tools and frameworks, and embracing a hands-on learning approach, anyone can embark on the exciting journey of AR development and contribute to shaping the future of this transformative technology.
 Augmented Reality: Where to Start : Articles | The Learning Guild | Aug 26, 2022 ... Augmented reality is technology that brings the virtual world into your real world in a way that would not be possible otherwise.
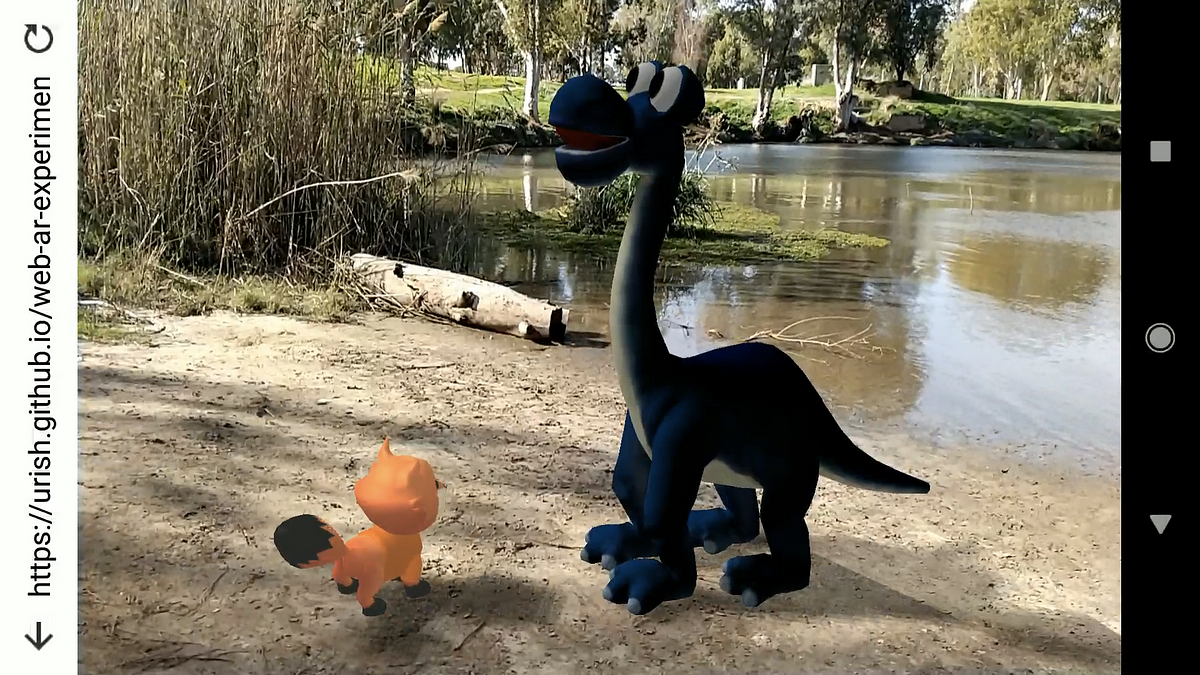 Web-Powered Augmented Reality: a Hands-On Tutorial | by Uri ... | A Guided Journey Into the Magical Worlds of ARCore, A-Frame, 3D Programming, and More!
 I want to start work in/start learning about Augmented Reality, what ... | Jul 11, 2016 ... Start with foundational knowledge about AR, including its concepts and use cases. · Learn programming basics, especially languages like C# ( ...
 Augmented Reality: The Ultimate Guide for Beginners | Augmented reality (AR) is giving marketers plenty of new opportunities to explore. Here’s an overview of augmented reality and its real-world applications.
 Augmented reality in open surgery | Augmented reality (AR) has been successfully providing surgeons an extensive visual information of surgical anatomy to assist them throughout the procedure. AR allows surgeons to view surgical field through the superimposed 3D virtual model of anatomical details. However, open surgery presents new c …
 Penske Truck Leasing Begins Augmented Reality Maintenance ... | Penske Truck Leasing has ushered in the next generation of truck maintenance technician training using augmented reality to instruct a portion of its workforce virtually. The company is employing a state-of-the-art interactive classroom concept already in practice by Design Interactive, an Orlando, ... Start coding “Augmented Reality”. You don't need one of those ... | You don’t need one of those expensive Virtual Reality (VR) headsets to learn how to write “Augmented Reality” (AR) programs. All you need…