React.js
Add Multiple Classes to React Component
Discover various methods and best practices for efficiently adding multiple CSS classes to your ReactJS components, enhancing styling flexibility and organization.
Discover various methods and best practices for efficiently adding multiple CSS classes to your ReactJS components, enhancing styling flexibility and organization.

This guide explores various techniques for applying multiple CSS classes to components in ReactJS, enhancing styling flexibility and dynamism. We'll delve into methods like string concatenation, template literals, conditional class application, utilizing arrays of class names, and leveraging the 'classnames' library. Each approach caters to different scenarios, and we'll provide insights into selecting the most suitable method based on your project requirements.
ReactJS offers several ways to add multiple classes to your components, making styling flexible and dynamic. Let's explore some popular methods:
Method 1: String Concatenation
Identify your classes:
Start by listing the CSS classes you want to apply to your component. For example, let's say you have "container", "active", and "highlight".
Concatenate with the '+' operator:
Within your JSX, use the className attribute and combine the classes using the '+' operator like this:
<div className={"container " + "active " + "highlight"}>
  {/* Your component content */}
</div>
Note: Ensure you add spaces between class names to avoid merging them into a single, invalid class.
Method 2: Template Literals
Use backticks:
Template literals offer a cleaner way to combine strings and variables. Enclose your class names within backticks (`) like this:
<div className={`container active highlight`}>
  {/* Your component content */}
</div>
This approach improves readability and avoids potential errors from missing spaces.
Method 3: Conditional Classes
Use JavaScript logic:
You can dynamically add classes based on conditions using JavaScript within the className attribute. For example:
<div className={isActive ? "active" : ""}>
  {/* Your component content */}
</div>
Here, the "active" class is applied only if the isActive variable is true.
Method 4: Array of Class Names
Create an array:
Store your class names in an array:
const classes = ["container", "active", "highlight"];Join the array:
Use the join method with a space as the separator to create a single string:
<div className={classes.join(" ")}>
  {/* Your component content */}
</div>
Method 5: ClassNames Library
Install the library:
Use npm or yarn to install the classnames package:
npm install classnamesImport and use:
Import the library and use its function to conditionally join class names:
import classNames from 'classnames';

<div className={classNames('container', { active: isActive, highlight: isHighlighted })}>
  {/* Your component content */}
</div>
This method provides a concise and flexible way to manage multiple classes with conditions.
Choosing the Right Method:
classnames library.classnames library offers better organization and readability.Remember: These methods provide different approaches to achieve the same goal. Choose the one that best suits your project's needs and coding style.
This code presents several methods for adding multiple classes to React components. The methods include string concatenation, template literals, conditional classes, an array of class names, and the 'classnames' library. Each method demonstrates how to apply classes based on props and combine static and dynamic classes. The choice of method depends on project requirements and coding style.
Here are some JavaScript examples demonstrating the methods described in the article:
Method 1: String Concatenation
function MyComponent(props) {
  const isActive = props.isActive;
  const isHighlighted = props.isHighlighted;

  return (
    <div className={"container " + (isActive ? "active " : "") + (isHighlighted ? "highlight " : "")}>
      {/* Your component content */}
    </div>
  );
}
Method 2: Template Literals
function MyComponent(props) {
  const { isActive, isHighlighted } = props;

  return (
    <div className={`container ${isActive ? "active" : ""} ${isHighlighted ? "highlight" : ""}`}>
      {/* Your component content */}
    </div>
  );
}
Method 3: Conditional Classes
function MyComponent(props) {
  const { isActive } = props;

  return (
    <div className={isActive ? "container active" : "container"}>
      {/* Your component content */}
    </div>
  );
}
Method 4: Array of Class Names
function MyComponent(props) {
  const { isActive, isHighlighted } = props;
  const classes = ["container"];

  if (isActive) classes.push("active");
  if (isHighlighted) classes.push("highlight");

  return (
    <div className={classes.join(" ")}>
      {/* Your component content */}
    </div>
  );
}
Method 5: ClassNames Library
import classNames from 'classnames';

function MyComponent(props) {
  const { isActive, isHighlighted } = props;

  return (
    <div className={classNames('container', { active: isActive, highlight: isHighlighted })}>
      {/* Your component content */}
    </div>
  );
}
Explanation:
Remember to choose the method that best suits your project's needs and coding style.
Performance Considerations:
classnames library: This library optimizes class name generation, making it efficient for handling numerous classes and conditions.CSS Modules and Styled Components:
Accessibility:
Testing:
Readability and Maintainability:
Additional Tips:
By understanding these additional considerations and best practices, you can effectively manage multiple classes in your React components, ensuring a well-structured, performant, and accessible user interface.
| Method | Description | Example |
|---|---|---|
| String Concatenation | Combine classes using the '+' operator within the className attribute. |
className={"container " + "active " + "highlight"} |
| Template Literals | Use backticks () to enclose class names and variables within the className` attribute. |
className={container active highlight}
|
| Conditional Classes | Apply classes dynamically based on JavaScript conditions within the className attribute. |
className={isActive ? "active" : ""} |
| Array of Class Names | Store class names in an array and join them with a space using the join method. |
const classes = ["container", "active"]; className={classes.join(" ")} |
| ClassNames Library | Use the classnames library to conditionally join class names in a concise way. |
className={classNames('container', { active: isActive })} |
In conclusion, React provides a variety of methods for adding multiple classes to components, each with its own strengths and use cases. By understanding these techniques, developers can effectively control the styling and behavior of their components, creating dynamic and engaging user interfaces. Whether you choose string concatenation, template literals, conditional logic, arrays, or the classnames library, the key is to select the approach that best aligns with your project's requirements and coding style. Remember to consider factors such as performance, readability, maintainability, and accessibility when making your decision. By following best practices and leveraging the flexibility of React's class management, you can build robust and visually appealing web applications.
 How to use two classname in ReactJS | Introduction to ReactJS
Hello, budding programmers! Today, we're going to explore the world of ReactJS, a popular JavaScript library for building user interfaces. Imagine this library as a box of Lego blocks. Just as you can build various structures using different Lego blocks, ReactJS allows you to build dynamic web
 reactjs - How can I add multiple className's to react component ... | Apr 21, 2016 ... <div className={
${this.state.className} ${this.props.content.divClassName}}>. Or if you can't use template strings: The Developer's Handbook to React Multiple Class Names | Know the role of React multiple class names and how to use them.
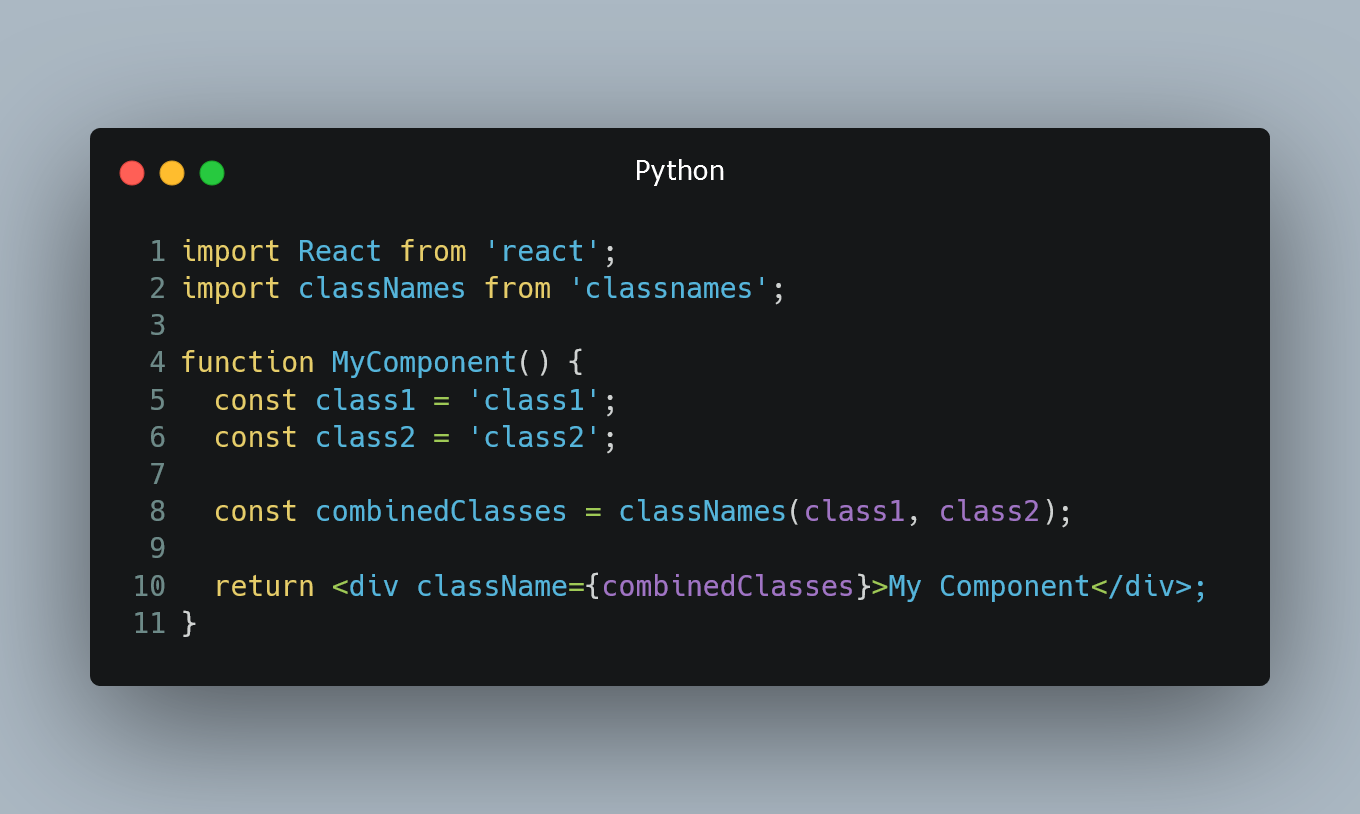 Adding Multiple Classes to a Component - Tiloid | In React, you can apply multiple CSS classes to a component to style it according to your design requirements.
#1. Using String Concatenation
One of t...
Adding Multiple Classes to a Component - Tiloid | In React, you can apply multiple CSS classes to a component to style it according to your design requirements.
#1. Using String Concatenation
One of t... How to Add Multiple Classes in React | Learn how to add multiple classes in React.
 Why React classnames Is A Lifesaver And How You Could Use It If ... | Yes, I know. It’s 2020. React classnames has been out since 2015 and I’m writing about it only now?! Well, better late than never, right?