Tensorflow
Using TensorBoard in Google Colab
Learn how to easily integrate TensorBoard with Google Colab to visualize your machine learning model training progress and gain valuable insights.
Learn how to easily integrate TensorBoard with Google Colab to visualize your machine learning model training progress and gain valuable insights.

This guide provides a concise walkthrough on how to integrate TensorBoard into your Google Colab environment for visualizing your machine learning training progress. We'll cover the essential steps to enable TensorBoard, initiate it with the designated log directory, and access the intuitive TensorBoard interface directly within your Colab notebook.
Enable TensorBoard in Colab:
%load_ext tensorboardStart TensorBoard and specify log directory:
%tensorboard --logdir logs(Replace "logs" with your actual log directory if needed)
TensorBoard will now run within your Colab notebook. You should see a link to access the TensorBoard interface.
This Python code defines and trains a simple neural network model for image classification using the MNIST dataset. It utilizes TensorFlow and Keras for model building, training, and logging. The code includes setting up an optimizer, loss function, and metrics for evaluation. It also incorporates TensorBoard, a visualization tool, to monitor and analyze the training process. The trained model aims to classify handwritten digits from the MNIST dataset.
import tensorflow as tf
import datetime

# Define a simple model
model = tf.keras.models.Sequential([
  tf.keras.layers.Flatten(input_shape=(28, 28)),
  tf.keras.layers.Dense(128, activation='relu'),
  tf.keras.layers.Dropout(0.2),
  tf.keras.layers.Dense(10)
])

# Define optimizer and loss function
loss_fn = tf.keras.losses.SparseCategoricalCrossentropy(from_logits=True)
optimizer = tf.keras.optimizers.Adam()

# Define metrics
metrics = ['accuracy']

# Compile the model
model.compile(optimizer=optimizer, loss=loss_fn, metrics=metrics)

# Load MNIST dataset
(x_train, y_train), (x_test, y_test) = tf.keras.datasets.mnist.load_data()

# Preprocess the data
x_train, x_test = x_train / 255.0, x_test / 255.0

# Define the log directory
log_dir = "logs/fit/" + datetime.datetime.now().strftime("%Y%m%d-%H%M%S")

# Create a TensorBoard callback
tensorboard_callback = tf.keras.callbacks.TensorBoard(log_dir=log_dir, histogram_freq=1)

# Train the model with TensorBoard callback
model.fit(x_train, y_train, epochs=5, callbacks=[tensorboard_callback])

# Enable TensorBoard in Colab
%load_ext tensorboard

# Start TensorBoard
%tensorboard --logdir logs
Explanation:
Now, you should see a link to the TensorBoard interface within your Colab notebook. You can explore various visualizations of your model's training process.
General:
log_dir is crucial. It's where all the data TensorBoard needs for visualization is stored. Organize these directories thoughtfully for easy comparison later.Colab Specific:
%tensorboard: Instead of the magic command, you can also run !tensorboard dev upload ... to upload your logs to TensorBoard.dev for persistent viewing and sharing.Code Specific:
datetime for Organization: Using datetime to create unique log directories helps organize your experiments and avoids overwriting previous runs.histogram_freq: This parameter in the TensorBoard callback controls how often histograms of your model's weights and activations are logged. Adjust it based on your needs.Troubleshooting:
log_dir path and ensure the directory structure is correct.This guide provides a concise overview of enabling and utilizing TensorBoard within a Google Colab environment.
Steps:
Enable the TensorBoard extension: Execute the following magic command in a Colab code cell:
%load_ext tensorboardLaunch TensorBoard and define the log directory: Use the following magic command, replacing "logs" with your desired log directory path:
%tensorboard --logdir logsAccess the TensorBoard interface: Upon successful execution, Colab will display a link within the notebook, granting access to the TensorBoard interface for visualization and analysis.
By following these straightforward steps, you can seamlessly integrate TensorBoard into your Colab workflow, enabling effective visualization and debugging of your machine learning models.
By integrating TensorBoard into your Colab environment, you gain a powerful tool for visualizing and understanding your machine learning models. Remember to organize your log directories, leverage TensorBoard's diverse visualization capabilities, and be mindful of Colab's session limits. Whether you're training a simple model on MNIST or a complex architecture on a large dataset, TensorBoard empowers you to delve into the intricacies of your model's training process, facilitating debugging, optimization, and ultimately, better model performance.
 Using TensorBoard in Notebooks | TensorBoard can be used directly within notebook experiences such as Colab and Jupyter. This can be helpful for sharing results, integrating TensorBoard into ...
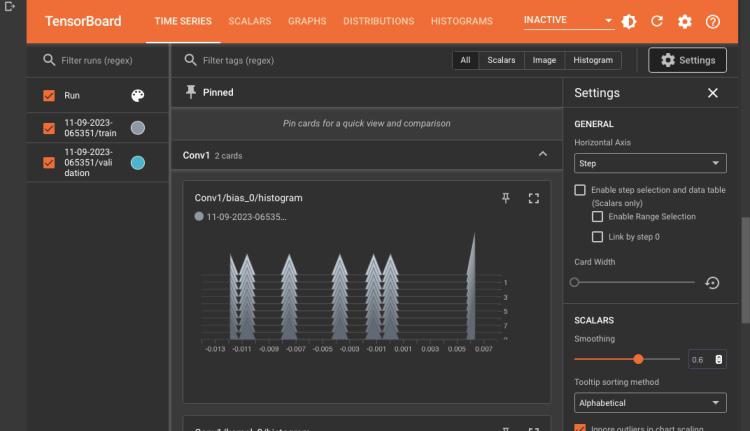 How to use TensorBoard in Google Colab? - GeeksforGeeks | A Computer Science portal for geeks. It contains well written, well thought and well explained computer science and programming articles, quizzes and practice/competitive programming/company interview Questions.
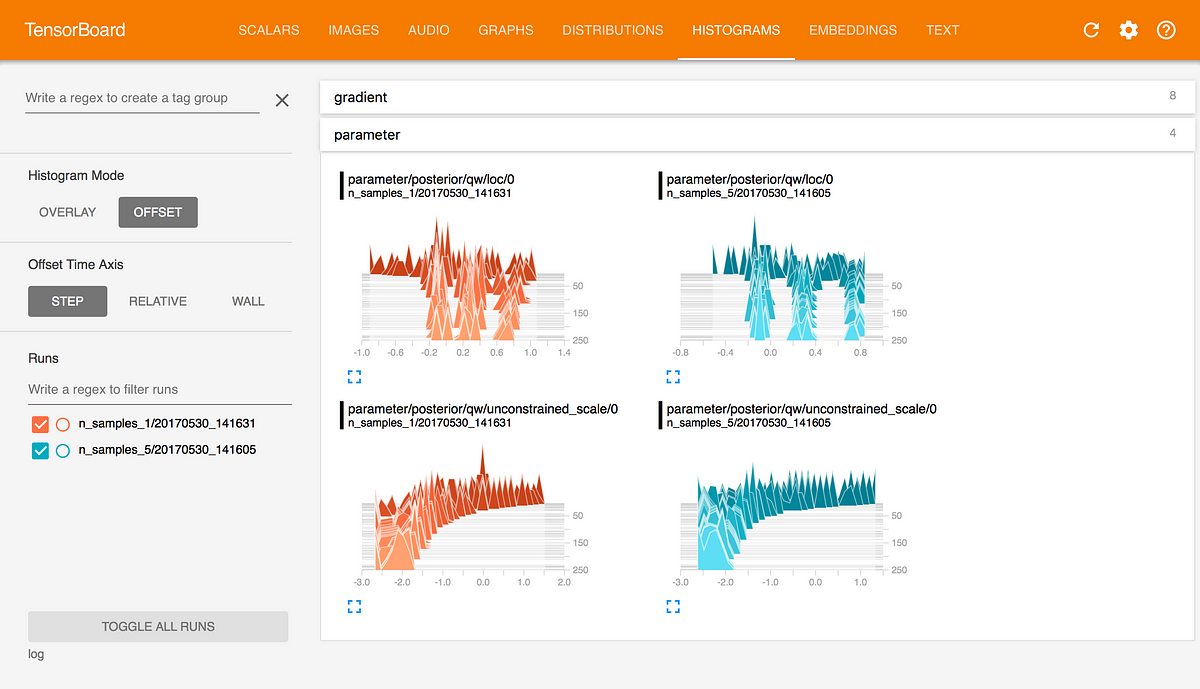 How to use TensorBoard with Google Colab | by Kuan Hoong, Ph.D ... | With the recent interest in Artificial Intelligence, Machine Learning and Data Analytics, one of the biggest hurdles for Machine Learning…
 TensorBoard - Ultralytics YOLO Docs | Learn how to integrate YOLO11 with TensorBoard for real-time visual insights into your model's training metrics, performance graphs, and debugging workflows.
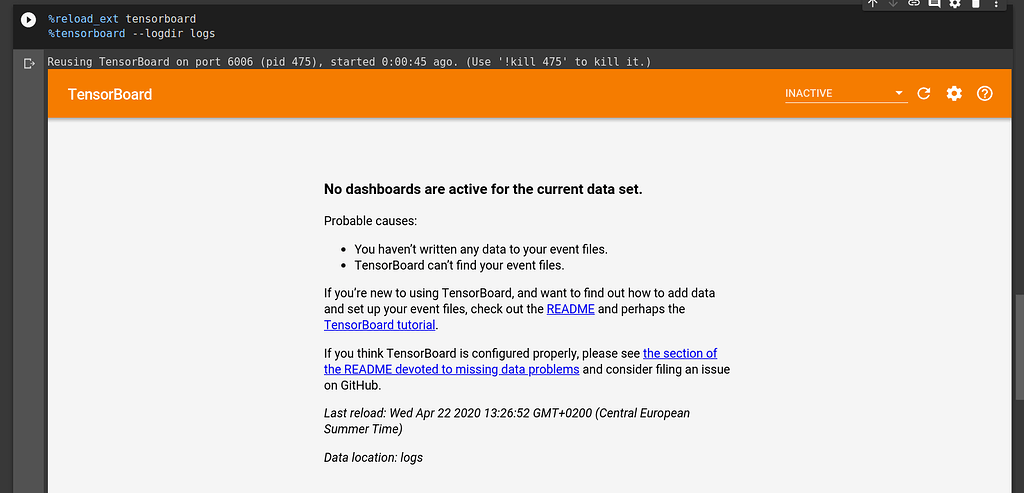 Pythorch tutorial about Tensorboard - PyTorch Forums | I am new to Pythorch and I am trying to go through the tutorials of the official page. I am struggling to understand how to run Tensorboard in a google colab as explained in this tutorial. I tried to look here: tensorflow - Can I use TensorBoard with Google Colab? - Stack Overflow and I ended up using this solution: %load_ext tensorboard %tensorboard --logdir logs Tensorboard opens up correctly in the notebook but I get the following message: No dashboards are active for the current data set...
 Using tensorboard in colab - PyTorch Forums | Hello! I am using colab. I was following the tutorial using colab notebook https://pytorch.org/tutorials/intermediate/tensorboard_tutorial.html when I reached to the line tensorboard --logdir=runs I got the error " File “”, line 1 tensorboard --logdir= runs ^ SyntaxError: can’t assign to operator" Changed it to “!tensorboard --logdir=runs” I got “Serving TensorBoard on localhost; to expose to the network, use a proxy or pass --bind_all TensorBoard 2.1.0 at http://localhost:6007/ (...