OpenCV warpPerspective: Show Full Warped Image
Learn how to prevent image cropping and display the entire warped image when using OpenCV's warpPerspective function in this comprehensive guide.
Learn how to prevent image cropping and display the entire warped image when using OpenCV's warpPerspective function in this comprehensive guide.
When using OpenCV's warpPerspective function, it's crucial to determine the appropriate size for the output image to prevent the transformed image from being clipped. This involves calculating a destination image size that encompasses the transformed corners of the original image.
To ensure the entire image is visible after applying warpPerspective in OpenCV, you need to calculate a destination image size that accommodates the transformed corners of the original image. Here's a breakdown:
Establish Source and Destination Points:
src_pts = np.float32([[x1, y1], [x2, y2], [x3, y3], [x4, y4]])
dst_pts = np.float32([[x1', y1'], [x2', y2'], [x3', y3'], [x4', y4']])
Find the Homography Matrix:
findHomography.
M = cv2.findHomography(src_pts, dst_pts)[0] Determine Output Image Size:
transformed_corners = cv2.perspectiveTransform(np.float32([[[x, y] for x, y in src_pts]]), M)min_x = int(transformed_corners[:,:,0].min())
max_x = int(transformed_corners[:,:,0].max())
min_y = int(transformed_corners[:,:,1].min())
max_y = int(transformed_corners[:,:,1].max())output_width = max_x - min_x
output_height = max_y - min_yApply Perspective Transformation:
warpPerspective with the calculated output size.
warped_img = cv2.warpPerspective(img, M, (output_width, output_height))By following these steps, you ensure that the output image from warpPerspective is large enough to display the entire transformed image without any clipping.
This Python code performs a perspective transformation on an image using OpenCV. It takes an image file path as input. First, it defines source and destination points, representing the corners of the object to be transformed and their desired positions. It then calculates the homography matrix based on these points. Next, it determines the output image size by finding the bounding box of the transformed corners. Finally, it applies the perspective transformation using the calculated homography matrix and displays the warped image.
import cv2
import numpy as np
# Load the image
img = cv2.imread('your_image.jpg')
# 1. Establish Source and Destination Points
src_pts = np.float32([[50, 50], [300, 50], [50, 200], [300, 200]]) # Example source points
dst_pts = np.float32([[100, 100], [300, 50], [100, 250], [300, 200]]) # Example destination points
# 2. Find the Homography Matrix
M = cv2.findHomography(src_pts, dst_pts)[0]
# 3. Determine Output Image Size
transformed_corners = cv2.perspectiveTransform(np.float32([[[x, y] for x, y in src_pts]]), M)
min_x = int(transformed_corners[:,:,0].min())
max_x = int(transformed_corners[:,:,0].max())
min_y = int(transformed_corners[:,:,1].min())
max_y = int(transformed_corners[:,:,1].max())
output_width = max_x - min_x
output_height = max_y - min_y
# 4. Apply Perspective Transformation
warped_img = cv2.warpPerspective(img, M, (output_width, output_height))
# Display the warped image
cv2.imshow('Warped Image', warped_img)
cv2.waitKey(0)
cv2.destroyAllWindows()Explanation:
src_pts and dst_pts with the actual corners of your source image and their desired positions in the output.cv2.findHomography computes the transformation matrix M based on the correspondences between source and destination points.cv2.perspectiveTransform applies the homography to the source corners to find their locations in the output image.cv2.warpPerspective applies the perspective transformation using the calculated homography matrix M and the determined output image size.Remember:
Understanding the Issue: When applying a perspective transformation, the shape and size of the image change. If you don't account for this by calculating the appropriate output image size, parts of the transformed image might end up outside the bounds of the output image, leading to clipping.
Importance of Accurate Corner Selection: The accuracy of your perspective transformation heavily relies on the correct selection of source and destination points. Ensure these points accurately represent the corners of the object you want to transform and their desired positions in the output.
Handling Negative Coordinates: After transformation, some transformed corners might have negative coordinates. This is normal and indicates that those parts of the warped image would lie outside the original image boundaries. The code snippet provided accounts for this by finding the minimum x and y values, which could be negative, to ensure the entire warped image is included.
Alternative to Manual Calculation: While the provided code calculates the output image size manually, OpenCV offers cv2.boundingRect function which can directly compute the bounding rectangle of a set of points. You can use this function to simplify the calculation of output_width and output_height.
Performance Considerations: For performance-critical applications, consider optimizing the calculation of the output image size. For instance, instead of applying the perspective transformation to all four corners, you could potentially achieve the same result by transforming only two opposite corners.
Beyond Image Rectification: While this explanation focuses on ensuring the visibility of the entire warped image, the principles apply to any scenario where you need to determine the appropriate output image size after applying warpPerspective. This includes tasks like image rectification, viewpoint correction, and creating panoramas.
This summary outlines the steps to calculate the correct output image size for cv2.warpPerspective to prevent image clipping:
| Step | Description | Code Snippet |
|---|---|---|
| 1. Define Points | Establish corresponding corner points in the source and desired output images. |
src_pts = np.float32([[x1, y1], [x2, y2], [x3, y3], [x4, y4]])dst_pts = np.float32([[x1', y1'], [x2', y2'], [x3', y3'], [x4', y4']])
|
| 2. Calculate Homography | Compute the transformation matrix (homography) using the defined points. | M = cv2.findHomography(src_pts, dst_pts)[0] |
| 3. Determine Output Size | a) Project source image corners onto the destination plane using the homography. b) Find the minimum and maximum x and y coordinates of the transformed corners. c) Calculate output image width and height using these boundaries. |
transformed_corners = cv2.perspectiveTransform(np.float32([[[x, y] for x, y in src_pts]]), M) min_x = int(transformed_corners[:,:,0].min()) ... output_width = max_x - min_x output_height = max_y - min_y
|
| 4. Apply Transformation | Perform the perspective transformation using the calculated output size. | warped_img = cv2.warpPerspective(img, M, (output_width, output_height)) |
By calculating the output size based on the transformed corners, you guarantee that the entire warped image will be visible without any portions being cut off.
In conclusion, accurately displaying the entire image after applying warpPerspective in OpenCV requires careful calculation of the output image size. This involves determining the bounding box of the transformed image on the destination plane, which can be achieved by finding the minimum and maximum x and y coordinates of the projected source image corners. By using these coordinates to define the output image width and height, you can ensure that warpPerspective produces a result that encompasses the entire transformed image, preventing any clipping and ensuring a visually complete transformation.
 OpenCV : warpPerspective on whole image - OpenCV Q&A Forum | Oct 30, 2013 ... ... using points2D.push_back(cv::Point2f(-6, -6)); points2D ... see result image contains recognized marker in left-top corner ...
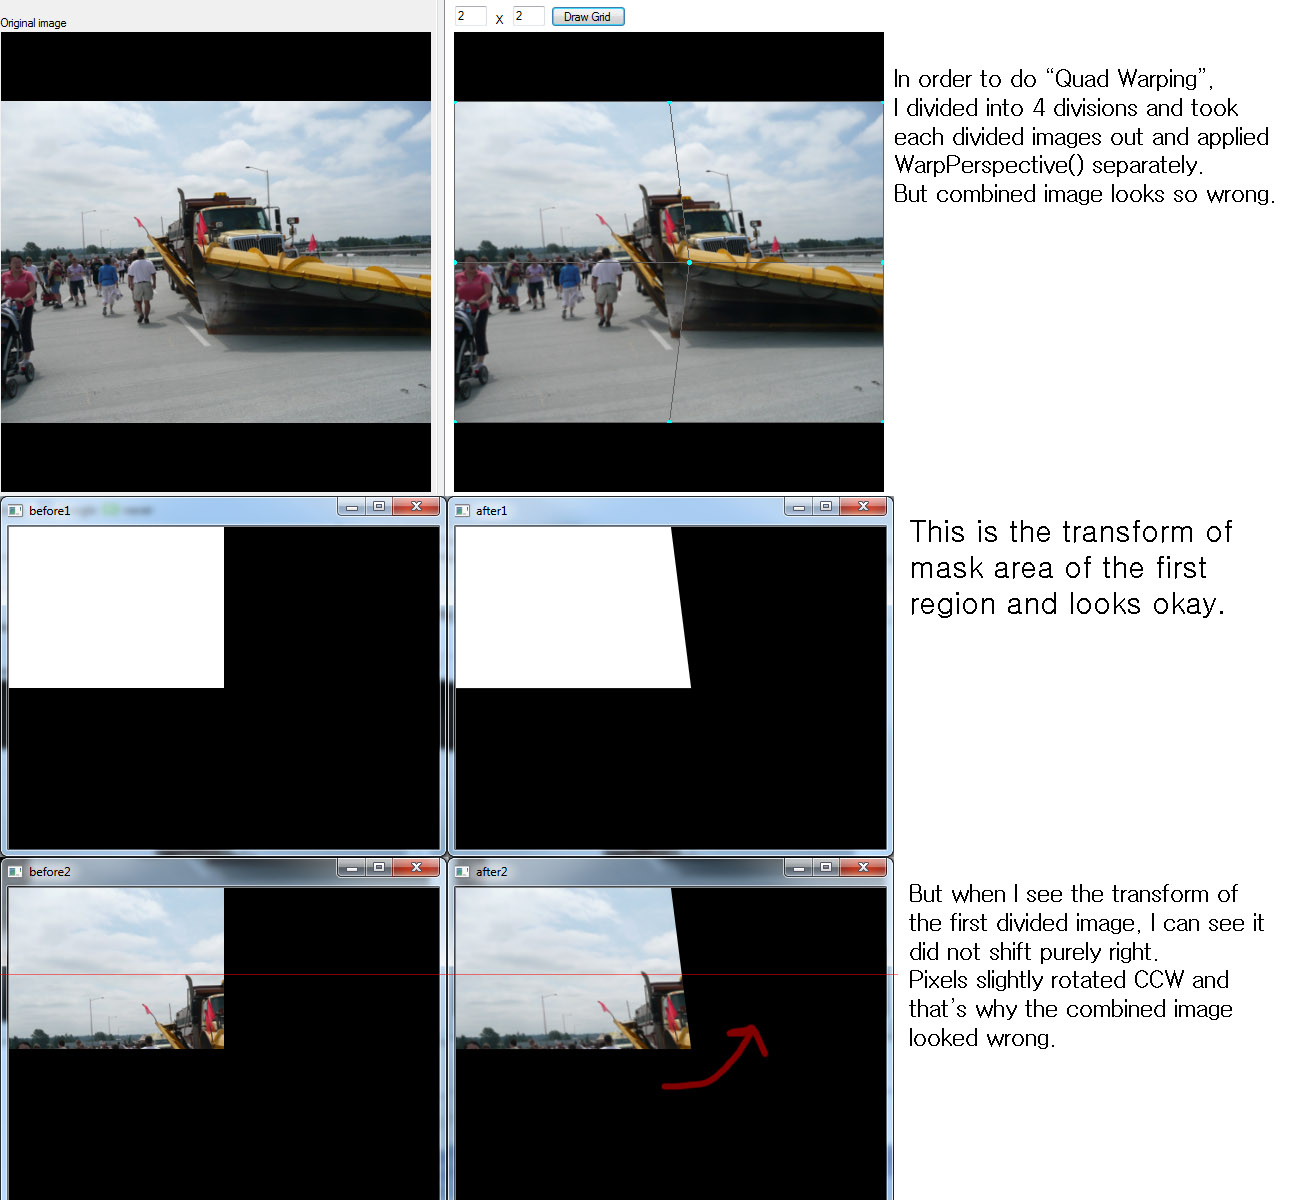
 warpPerspective gives unexpected result - OpenCV Q&A Forum | Apr 19, 2013 ... Dude. I attached 6 photos. Look at the upper right photo. Can't you see the four parts of the photo are discontinuous? And can't you imagine ...
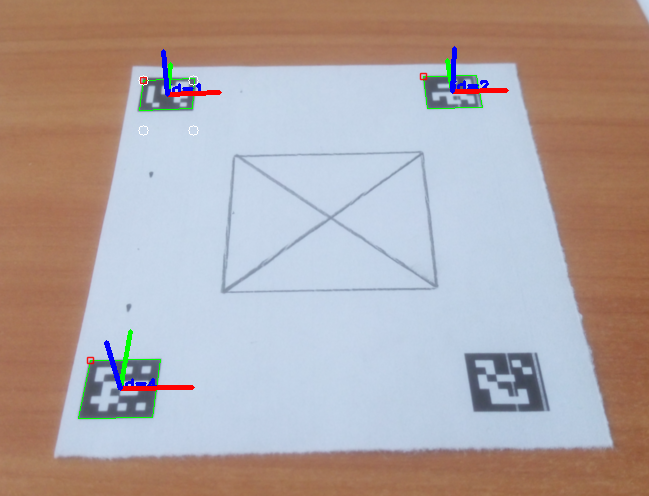
 Turning ArUco marker in parallel with camera plane - OpenCV Q&A ... | Mar 30, 2017 ... The first image can be warped to the desired perspective view using warpPerspective() (left: desired perspective view, right: left image warped):.
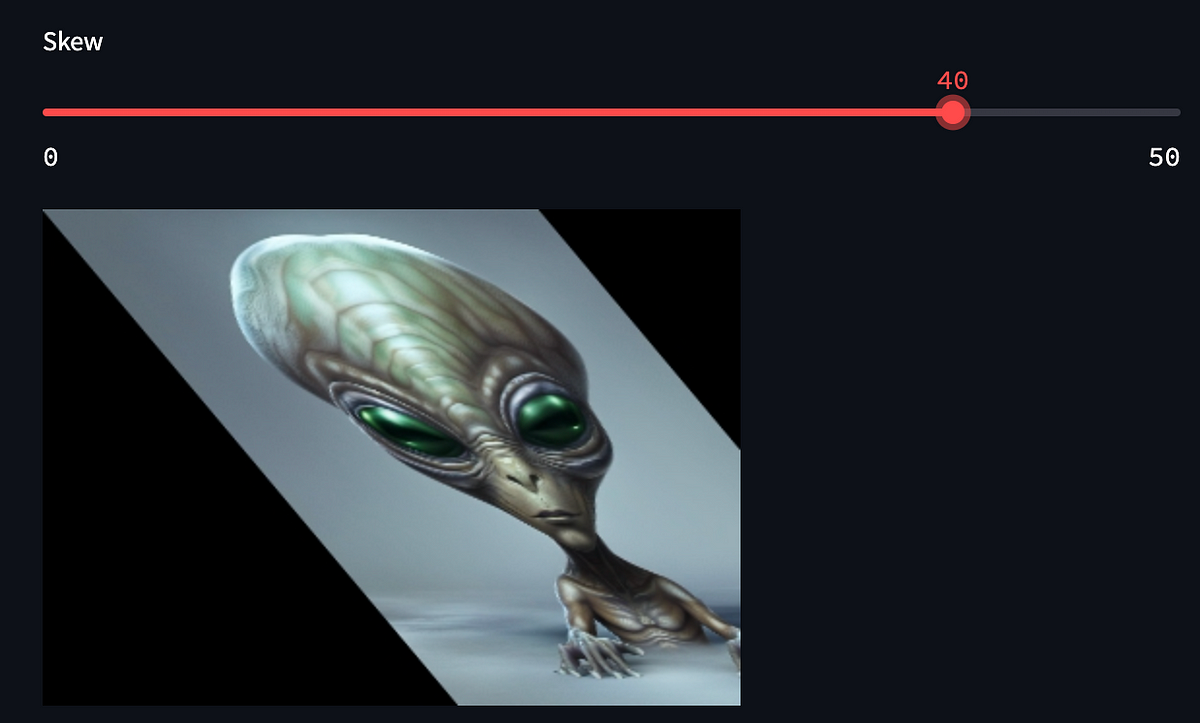
 Practical examples of image transformations with OpenCV (3x3 ... | Few practical examples of basic image transformations in Streamlit.
 Pac-man Effect when using warpPerspective - Python - OpenCV | Hello! I’m using a ChArUco board to calibrate three cameras. The input of the cameras will be used to create a stitched top-down view. So far, everything seems to work fine, except for one part: the perspective warping. Whenever I try to warp the images, I seem to get the “pacman effect”. Pacman Effect: The belief that someone attempting to go over the edge of the flat Earth would teleport to the other side. I have made sure that all points are in the right order, so that shouldn’t be t...