Next.js Router.push: How to Pass State Data
Learn how to use `router.push` with state in Next.js to navigate between pages while preserving and accessing data.
Learn how to use `router.push` with state in Next.js to navigate between pages while preserving and accessing data.
This guide explores methods for navigating between pages and passing data in Next.js applications. While Next.js doesn't directly support state transfer through router.push like React Router, we'll delve into alternative techniques to achieve similar results. We'll cover using query parameters, dynamic routes, and state management solutions like Context API and external libraries. Each approach will be explained step-by-step, including code examples and considerations for choosing the most suitable method based on your application's requirements.
While Next.js doesn't directly support passing state through router.push like React Router, we can achieve similar functionality using alternative approaches. Here's a step-by-step guide:
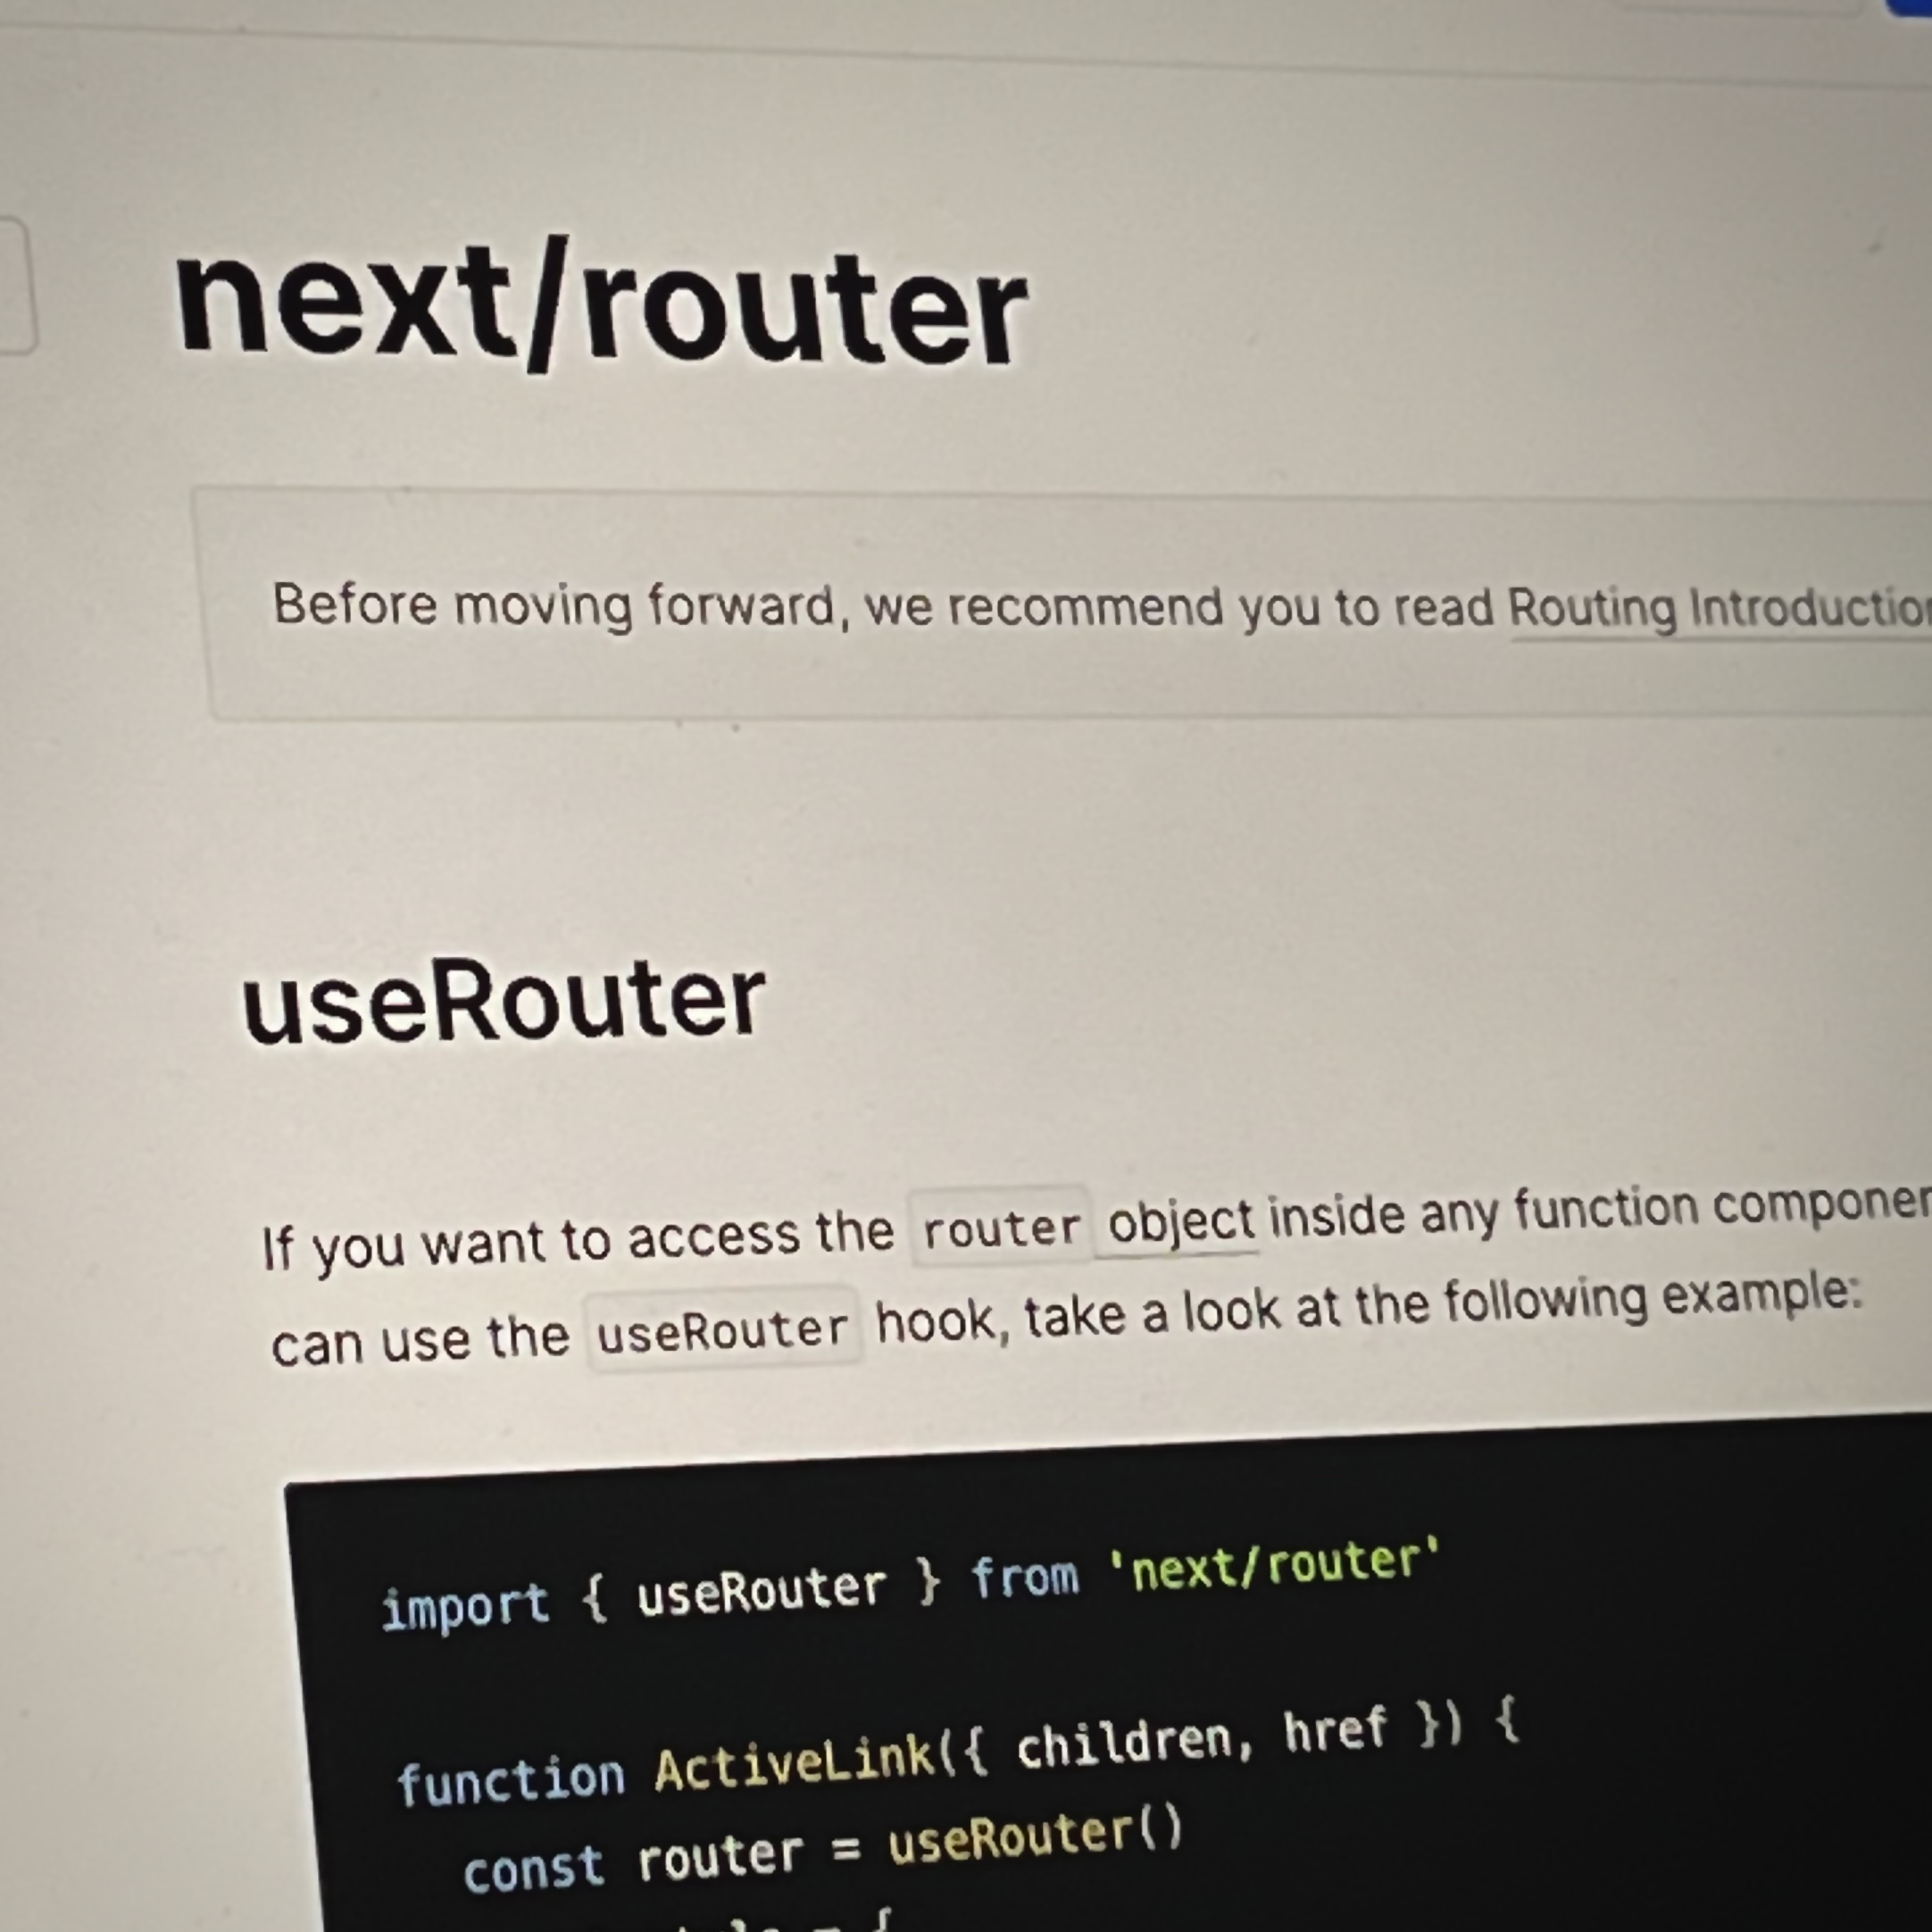
1. Setting Up the useRouter Hook:
useRouter hook from next/router in your component file:import { useRouter } from 'next/router';const router = useRouter();2. Passing Data with Query Parameters:
const newUrl = `/products?id=${productId}&category=${category}`;router.push to navigate to the new URL:router.push(newUrl);router.query:const { id, category } = router.query;3. Passing Data with Dynamic Routes:
Define Dynamic Route: Create a dynamic route file (e.g., [productId].js) within your pages directory.
Access Route Parameters: Use router.query to access the dynamic route parameters:
const { productId } = router.query;getServerSideProps or getStaticProps to fetch data based on the route parameters.4. Utilizing Context API or State Management Libraries:
Context API: For simple state sharing, consider using React's Context API to provide data across components.
State Management Libraries: For complex state management, libraries like Redux or Zustand offer robust solutions.
5. Considerations and Caveats:
URL Length: Be mindful of URL length limitations when using query parameters.
Sensitive Data: Avoid passing sensitive data in URLs due to security concerns.
State Persistence: Remember that query parameters and dynamic routes don't persist state across page refreshes.
Example: Navigating to a Product Detail Page
// Product listing component
const ProductList = ({ products }) => {
  const router = useRouter();

  const handleProductClick = (productId) => {
    router.push(`/products/${productId}`);
  };

  // ...
};

// Product detail page ([productId].js)
export default function ProductDetail() {
  const router = useRouter();
  const { productId } = router.query;

  // Fetch product data based on productId...

  return (
    // ...
  );
}
Remember: Choose the approach that best suits your application's needs and complexity. Consider factors like data size, security, and state persistence when making your decision.
This code demonstrates three methods for navigating between pages and passing data in a Next.js application:
1. Query Parameters: This method uses the useRouter hook to access the router object and its push method to navigate to a new URL with query parameters containing the data to be passed. The receiving page can then access these parameters using the router.query object.
2. Dynamic Routes: This method uses dynamic routing in Next.js to create pages with paths that include parameters. The parameter values are then accessible within the page component using the useRouter hook and the router.query object.
3. Context API: This method uses the React Context API to create a context for storing and sharing data across components. A provider component makes the data available to child components, which can then access it using the useContext hook.
Following the guide you provided, let's illustrate the concepts with concrete JavaScript examples:
1. Using Query Parameters:
// ProductList.js
import { useRouter } from 'next/router';

const ProductList = ({ products }) => {
  const router = useRouter();

  const handleProductClick = (id, category) => {
    router.push(`/products?id=${id}&category=${category}`);
  };

  return (
    <ul>
      {products.map((product) => (
        <li key={product.id} onClick={() => handleProductClick(product.id, product.category)}>
          {product.name}
        </li>
      ))}
    </ul>
  );
};

// ProductDetails.js
import { useRouter } from 'next/router';

const ProductDetails = () => {
  const router = useRouter();
  const { id, category } = router.query;

  // ... fetch and display product details based on id and category ...

  return (
    <div>
      <h1>Product Details</h1>
      <p>ID: {id}</p>
      <p>Category: {category}</p>
      {/* ... */}
    </div>
  );
};
2. Using Dynamic Routes:
// pages/products/[productId].js
import { useRouter } from 'next/router';

export default function ProductDetails() {
  const router = useRouter();
  const { productId } = router.query;

  // ... fetch and display product details based on productId ...

  return (
    <div>
      <h1>Product Details</h1>
      <p>ID: {productId}</p>
      {/* ... */}
    </div>
  );
}

// ProductList.js (same as before)
3. Using Context API (Simple Example):
// ProductContext.js
import { createContext, useState } from 'react';

export const ProductContext = createContext();

export const ProductProvider = ({ children }) => {
  const [selectedProduct, setSelectedProduct] = useState(null);

  const handleProductSelect = (product) => {
    setSelectedProduct(product);
  };

  return (
    <ProductContext.Provider value={{ selectedProduct, handleProductSelect }}>
      {children}
    </ProductContext.Provider>
  );
};

// ProductList.js
import { useContext } from 'react';
import { ProductContext } from './ProductContext';

const ProductList = ({ products }) => {
  const { handleProductSelect } = useContext(ProductContext);

  // ...

  return (
    <ul>
      {products.map((product) => (
        <li key={product.id} onClick={() => handleProductSelect(product)}>
          {product.name}
        </li>
      ))}
    </ul>
  );
};

// ProductDetails.js
import { useContext } from 'react';
import { ProductContext } from './ProductContext';

const ProductDetails = () => {
  const { selectedProduct } = useContext(ProductContext);

  // ... display details from selectedProduct ...
};
Remember: These are basic examples. You'll need to adapt them to your specific data fetching mechanisms, UI components, and state management needs.
While the provided guide covers the fundamental methods for navigating and passing data in Next.js, let's explore some additional considerations and advanced techniques:
1. Data Fetching Strategies:
getServerSideProps: Ideal for data that changes frequently or requires server-side logic. Fetches data on each request.getStaticProps: Suitable for static data or data that doesn't change often. Generates HTML at build time for improved performance.getStaticPaths: Used with dynamic routes to pre-render pages at build time based on a list of possible paths.useEffect or libraries like SWR or React Query to fetch data on the client-side when needed.2. Data Serialization:
JSON.stringify to serialize the data and JSON.parse to deserialize it on the receiving end.3. Security Best Practices:
4. State Management Libraries:
5. Custom Hooks:
6. Error Handling:
7. Performance Optimization:
8. Accessibility:
Example: Custom Hook for Navigation with Data
import { useRouter } from 'next/router';

const useNavigationWithData = () => {
  const router = useRouter();

  const navigateWithData = (path, data) => {
    router.push({
      pathname: path,
      query: { data: JSON.stringify(data) },
    });
  };

  return navigateWithData;
};
Remember: Choose the techniques that best align with your application's specific requirements, complexity, and performance goals.
| Method | Description | Use Case |
|---|---|---|
| Query Parameters | Append data to URL as key-value pairs. | Simple data, navigation between pages. |
| Dynamic Routes | Embed data within the URL path itself. | Hierarchical data, SEO-friendly URLs. |
| Context API | Share state between components using React's built-in context mechanism. | Simple state sharing across components. |
| State Management Libs | Utilize external libraries like Redux or Zustand for complex state management. | Large-scale applications, complex state interactions, persistent state. |
Considerations:
Navigating and passing data effectively in Next.js is crucial for building dynamic and user-friendly web applications. This guide has explored various methods, each with its strengths and limitations. By understanding these techniques and considering factors like data complexity, security, and performance, you can make informed decisions to optimize your Next.js projects.
Key Takeaways:
Additional Considerations:
By mastering these concepts and exploring advanced techniques like custom hooks and error handling, you can elevate your Next.js development skills and create exceptional web applications.
 Programmatic Navigation | Vue Router | The official Router for Vue.js
 History: pushState() method - Web APIs | MDN | The pushState() method of the History interface adds an entry to the browser's
session history stack.
 Don't store app state in the URL with the Next.js router - Guillermo ... | Through sweat and pain, I found again and again that it’s a bad idea to use the URL to store app state for highly dynamic apps.
 Refresh props from getServerSideProps in Next.js, mutate server ... | Next allows you to do server-side data-fetching, but what happens when that data needs to change on the client? This brief tutorial shows how to re-fetch the props without doing a full server reload.
 XSS bug in next.js router.push function! | by mobin yardim | Apr ... | In the final hours of my workday, our security team leader, Nader, brought to my attention an XSS (Cross-Site Scripting) vulnerability…