Kubernetes
Kubernetes Service Types: ClusterIP vs NodePort vs LoadBalancer
This article explains the differences between ClusterIP, NodePort, and LoadBalancer service types in Kubernetes, helping you choose the right one for your application.
This article explains the differences between ClusterIP, NodePort, and LoadBalancer service types in Kubernetes, helping you choose the right one for your application.

In the world of Kubernetes, services are your gateway to applications running inside pods. But with different ways to expose these applications, choosing the right service type is crucial. This article demystifies the three main Kubernetes service types: ClusterIP, NodePort, and LoadBalancer, helping you understand their use cases and when to employ each one.
Let's break down Kubernetes service types: ClusterIP, NodePort, and LoadBalancer.
1. ClusterIP
The default. When you create a service without specifying a type, you get ClusterIP.
Internal access only. It gives your application an IP address within the Kubernetes cluster.
Great for communication between pods. Think of it like giving your microservices a way to talk to each other without exposing them to the outside world.
apiVersion: v1
kind: Service
metadata:
  name: my-internal-service
spec:
  selector:
    app: my-app
  ports:
  - port: 80
    targetPort: 8080
2. NodePort
External access, but basic. It opens a specific port on every node in your cluster. Traffic to that port gets forwarded to your service.
Useful for development and testing. It's a simple way to make your application accessible from outside the cluster.
Not ideal for production. Exposing the same port on every node can be a security risk and doesn't scale well.
apiVersion: v1
kind: Service
metadata:
  name: my-nodeport-service
spec:
  type: NodePort
  selector:
    app: my-app
  ports:
  - port: 80
    targetPort: 8080
    nodePort: 30080
3. LoadBalancer
External access, production-ready. It provisions a load balancer (usually from your cloud provider) and routes traffic to your service.
Provides a single entry point. This makes it easy for users to access your application.
Requires cloud provider support. Not all Kubernetes setups offer LoadBalancer functionality.
apiVersion: v1
kind: Service
metadata:
  name: my-loadbalancer-service
spec:
  type: LoadBalancer
  selector:
    app: my-app
  ports:
  - port: 80
    targetPort: 8080
In a nutshell:
This code provides examples of Kubernetes Service definitions for ClusterIP, NodePort, and LoadBalancer types. Each example includes a YAML configuration file and instructions for deployment using kubectl. The examples demonstrate how to expose an application running in a Kubernetes cluster on different network endpoints, allowing access from within the cluster, from outside the cluster on a specific node port, or through a cloud provider's load balancer. Remember to replace the placeholder app label with the actual label used for your application.
This code accompanies the article and provides practical examples of Kubernetes Service definitions for ClusterIP, NodePort, and LoadBalancer.
Prerequisites:
1. ClusterIP (my-internal-service.yaml)
apiVersion: v1
kind: Service
metadata:
  name: my-internal-service
spec:
  selector:
    app: my-app # Replace 'my-app' with your application's label
  ports:
  - port: 80 # The port exposed by the service
    targetPort: 8080 # The port your application listens on
To deploy:
kubectl apply -f my-internal-service.yamlNotes:
my-internal-service) and port (80) to access your application from other pods within the cluster.2. NodePort (my-nodeport-service.yaml)
apiVersion: v1
kind: Service
metadata:
  name: my-nodeport-service
spec:
  type: NodePort
  selector:
    app: my-app # Replace 'my-app' with your application's label
  ports:
  - port: 80 # The port exposed by the service
    targetPort: 8080 # The port your application listens on
    nodePort: 30080 # The port exposed on each node
To deploy:
kubectl apply -f my-nodeport-service.yamlNotes:
30080 of any node's IP address.kubectl get nodes -o wide.3. LoadBalancer (my-loadbalancer-service.yaml)
apiVersion: v1
kind: Service
metadata:
  name: my-loadbalancer-service
spec:
  type: LoadBalancer
  selector:
    app: my-app # Replace 'my-app' with your application's label
  ports:
  - port: 80 # The port exposed by the service
    targetPort: 8080 # The port your application listens on
To deploy:
kubectl apply -f my-loadbalancer-service.yamlNotes:
kubectl get service my-loadbalancer-service.Remember to replace "app: my-app" with the correct label selector for your application.
These examples demonstrate the basic configuration of each service type. You can further customize them with additional options like session affinity, health checks, and external traffic policies.
General:
ClusterIP:
NodePort:
LoadBalancer:
Beyond the basics:
| Service Type | Description | Access | Use Cases | Production Ready? |
|---|---|---|---|---|
| ClusterIP | Assigns an internal IP address to your application within the Kubernetes cluster. | Internal only | Communication between pods, microservices. | Not typically |
| NodePort | Exposes your service on a specific port on every node in the cluster. | External | Development, testing, simple external access. | Not ideal |
| LoadBalancer | Provisions a cloud provider load balancer and routes traffic to your service. | External | Production environments, robust external access. | Yes, with cloud provider support |
Choosing the right Kubernetes service type depends on your application's needs and your environment. ClusterIP services are ideal for internal communication, while NodePort services offer a simple way to expose applications externally for development or testing. For production-ready, externally accessible applications, LoadBalancer services provide a robust solution. Understanding the strengths and limitations of each service type empowers you to make informed decisions about how to expose your applications running in Kubernetes. By leveraging the right service type, you can ensure that your applications are accessible, scalable, and secure.
 ClusterIP vs NodePort vs LoadBalancer: Key Differences & When to ... | Find out how to make Pods accessible to other Pods within the cluster as well as to clients outside of it using 3 commonly used Service types.
 The difference between ClusterIP, NodePort, and LoadBalancer ... | Learn the differences between the 3 kinds of Kubernetes services, ClusterIP, NodePort, and LoadBalancer.
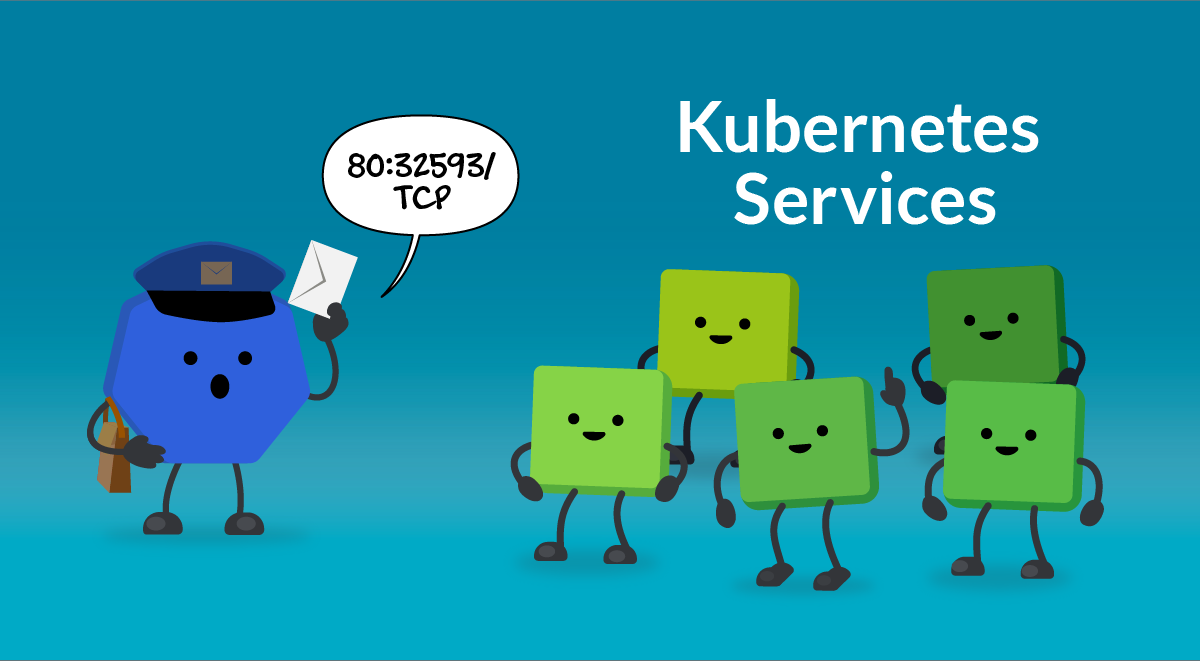 Kubernetes Services: ClusterIP, Nodeport and LoadBalancer | Sysdig | Your Kubernetes Pods have internal IPs, but, can since Pods are created and destroyed, can you rely on those? Discover Services and its types: ClusterIP, NodePort and LoadBalancer
 Exploring Kubernetes Service Types: ClusterIP vs. NodePort vs ... | Dive into Kubernetes Services Types: ClusterIP, NodePort, LoadBalancer and more. Optimize application performance and accessibility effectively.
 Demystifying Kubernetes Service Types: ClusterIP, NodePort, and ... | Kubernetes is like a bustling city of containers, and in this city, the Kubernetes Service plays the role of a sophisticated traffic…
 Kubernetes - ClusterIP vs NodePort vs LoadBalancer - GeeksforGeeks | Kubernetes networking utilizes three main service types\u2014ClusterIP for internal communication, NodePort for external access without a load balancer, and LoadBalancer for publicly accessible applications\u2014each serving distinct purposes in application management.
 Difference between ClusterIP, NodePort and LoadBalancer service ... | In Kubernetes, there are different service types to expose your applications running within the cluster. The primary service types are…
 Missing something? (services/ingress) - Discuss Kubernetes | I have a small kubernetes cluster running at home. So far what I have been doing is using it for fault tolerance. So all my deployments are single replica pods. I have a service setup to expose them to the rest of the network. So my question is this. If I spin up a pod like a web server that will run on multiple nodes and expose a service to it. Will it distribute the load? This is kind of where I am confused between service and ingress. If the service has all the webserver end points… t...