Machine Vision
Detect Objects in Android AR: A Guide
Learn how to use Android's ARCore technology to detect and interact with physical objects in your augmented reality applications.
Learn how to use Android's ARCore technology to detect and interact with physical objects in your augmented reality applications.

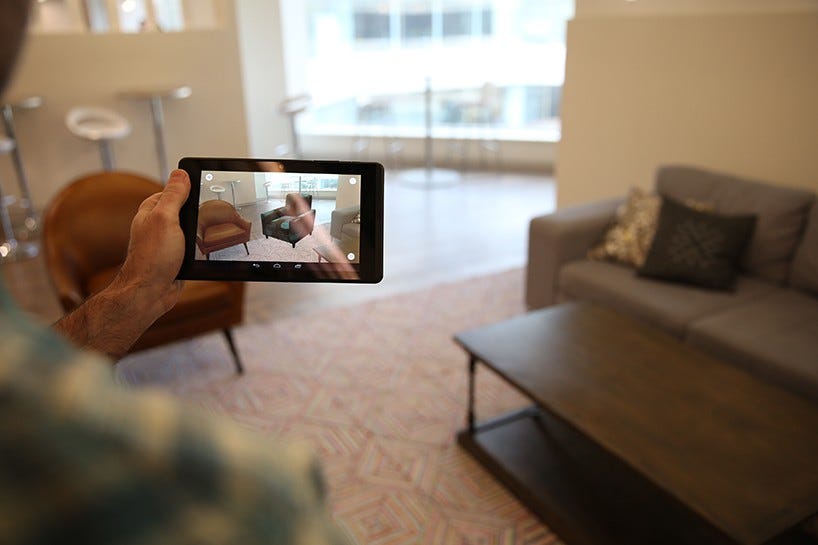
Augmented reality (AR) object recognition allows your apps to understand and interact with the real world through the lens of a device camera. This article provides a step-by-step guide on how to implement object recognition in your AR applications. We'll cover key concepts, popular frameworks, and provide code examples to get you started.
Choose your AR framework: Popular options include ARCore (Android), ARKit (iOS), and AR Foundation (Unity).
# Example using ARFoundation in Unity
using UnityEngine.XR.ARFoundation;
Access device camera: Your framework will provide ways to access the camera feed.
# Example using ARFoundation
ARSession.Start();
Implement object recognition:
Integrate with AR scene:
# Example using ARFoundation
var anchor = arSessionOrigin.trackablesParent.AddAnchor(pose);
Handle object tracking: Update the virtual content's position as the detected object moves.
// Example using ARFoundation
void Update() {
    if (anchor != null) {
        // Update virtual object's position based on anchor's pose
    }
}
Consider object occlusion: Make virtual objects appear behind real-world objects for a more realistic experience.
// Example using ARFoundation
arCameraBackground.useDepthOcclusion = true;This code example shows how to use ARFoundation in Unity to recognize and track an image. It guides you through setting up a new Unity project, adding necessary AR packages, and configuring the scene with an AR Session Origin and an AR Camera. You'll learn how to create an image library containing your reference image and use a C# script to detect and track this image in the real world. The script handles events related to tracked images, such as adding, updating, and removing them. When the image is detected, a predefined 3D prefab is instantiated at the image's location, and its position and rotation are continuously tracked. This provides a basic framework for building image recognition and tracking features in AR applications.
This example demonstrates how to recognize and track an image using ARFoundation in Unity.
1. Project Setup:
2. Scene Setup:
3. Image Recognition Setup:
4. ImageRecognition.cs Script:
using System.Collections.Generic;
using UnityEngine;
using UnityEngine.XR.ARFoundation;
using UnityEngine.XR.ARSubsystems;

public class ImageRecognition : MonoBehaviour
{
    // Reference to the AR tracked image manager
    [SerializeField] private ARTrackedImageManager _trackedImageManager;

    // Reference to the prefab to instantiate when the image is detected
    [SerializeField] private GameObject _prefabToInstantiate;

    // Dictionary to store detected images and their corresponding instantiated prefabs
    private readonly Dictionary<string, GameObject> _instantiatedPrefabs = new Dictionary<string, GameObject>();

    // Called when the script is enabled
    private void OnEnable()
    {
        // Subscribe to the tracked images changed event
        _trackedImageManager.trackedImagesChanged += OnTrackedImagesChanged;
    }

    // Called when the script is disabled
    private void OnDisable()
    {
        // Unsubscribe from the tracked images changed event
        _trackedImageManager.trackedImagesChanged -= OnTrackedImagesChanged;
    }

    // Called when the list of tracked images changes
    private void OnTrackedImagesChanged(ARTrackedImagesChangedEventArgs eventArgs)
    {
        // Loop through all added tracked images
        foreach (var addedImage in eventArgs.added)
        {
            // Instantiate the prefab and store it in the dictionary
            _instantiatedPrefabs[addedImage.name] = Instantiate(_prefabToInstantiate, addedImage.transform);
        }

        // Loop through all updated tracked images
        foreach (var updatedImage in eventArgs.updated)
        {
            // Update the position and rotation of the instantiated prefab
            _instantiatedPrefabs[updatedImage.name].transform.position = updatedImage.transform.position;
            _instantiatedPrefabs[updatedImage.name].transform.rotation = updatedImage.transform.rotation;
        }

        // Loop through all removed tracked images
        foreach (var removedImage in eventArgs.removed)
        {
            // Destroy the instantiated prefab and remove it from the dictionary
            Destroy(_instantiatedPrefabs[removedImage.name]);
            _instantiatedPrefabs.Remove(removedImage.name);
        }
    }
}
5. Final Steps:
This code will detect the reference image, instantiate the assigned prefab at its location, and track its position and rotation. You can further customize this code to implement more complex interactions and functionalities.
General:
Frameworks and Tools:
Advanced Concepts:
Example Use Cases:
This article outlines the key steps for building an augmented reality (AR) application capable of recognizing and interacting with real-world objects.
1. Framework Selection:
2. Camera Access:
3. Object Recognition:
4. AR Scene Integration:
5. Object Tracking:
6. Occlusion Handling:
By following these steps, developers can create engaging AR applications that seamlessly blend virtual content with the real world, opening up a world of possibilities for interactive and immersive experiences.
From choosing the right framework to handling object occlusion for realism, each step contributes to a successful AR experience. As you delve deeper into AR development, you'll discover even more sophisticated techniques for object persistence, multi-object interactions, and scene understanding, pushing the boundaries of what's possible in blending the digital and physical worlds. The use cases are vast, spanning interactive product demos, immersive educational apps, engaging AR games, and real-time navigation guidance, all made possible by the power of AR object recognition.
 Object Recognition in Augmented Reality | by Anastasiia Bobeshko ... | When you think of augmented reality, one of the key elements to consider is object recognition technology, also known as object detection…
 android - augmented reality measure size of objects - feasability ... | Jun 27, 2011 ... Take a look at the answer to this. How can I determine distance from an object in a video?
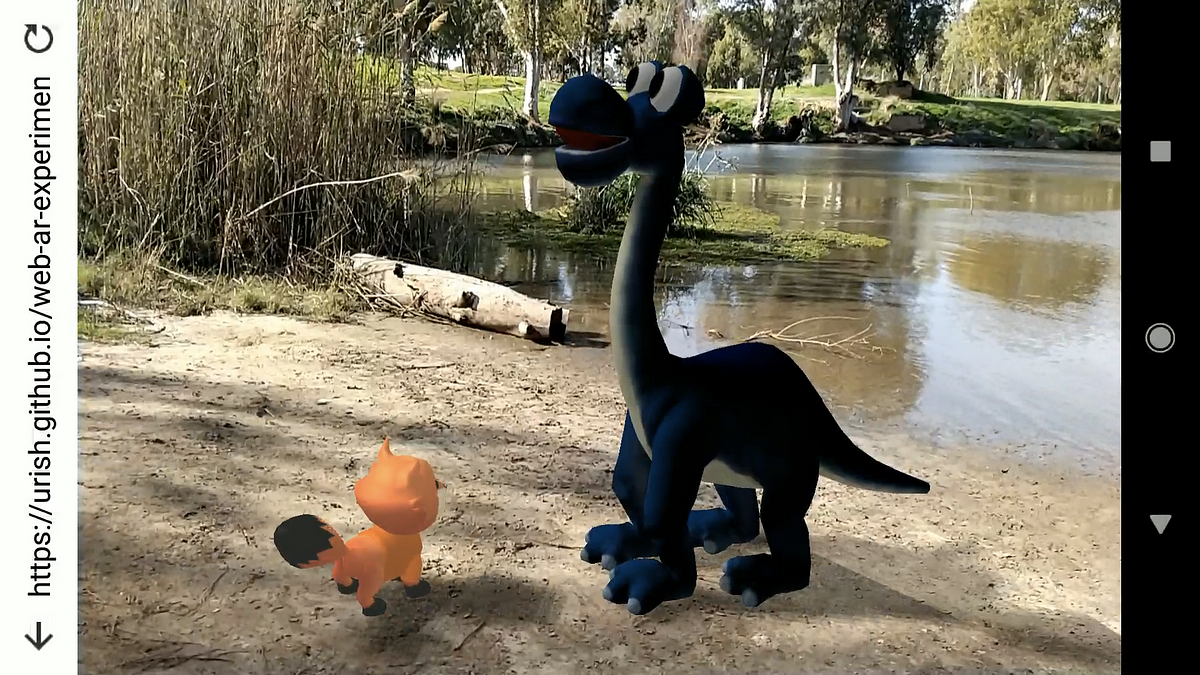 Web-Powered Augmented Reality: a Hands-On Tutorial | by Uri ... | A Guided Journey Into the Magical Worlds of ARCore, A-Frame, 3D Programming, and More! How to Integrate Object Detection Model with Augmented Reality ... | Jan 6, 2025 ... I am working on an Android application where I want to integrate an object detection model with Augmented Reality (AR).
 AR Foundation | AR Foundation | 6.1.0 | Detect and track 3D objects. Face tracking, Detect and track human faces. Body ... Occlude AR content with physical objects and perform human segmentation.
 Augmented reality - Wikipedia | HMDs place images of both the physical world and virtual objects over the user's field of view. ... It uses sensors in mobile devices to accurately detect the ...
 AR Foundation | AR Foundation | 5.0.7 | Detect and track 3D objects. Face tracking, Detect and track human faces. Body ... Occlude AR content with physical objects and perform human segmentation.
 Scanning and Detecting 3D Objects | Apple Developer Documentation | Record spatial features of real-world objects, then use the results to find those objects in the user’s environment and trigger AR content.
 When will we get object and image classification (... - Meta ... | If I wanted to build a Mixed Reality app that can detect when a certain brand logo is visible on a poster, coffee cup coaster, etc... and then allow spatial anchoring relative to that logo there seems to be no way to achieve this today. Compute vision for Quest 3 and Quest Pro developers is limited ...